Ace Combat 8 Best PC Settings for FPS and Flight Clarity
Choose Ace Combat 8 settings for your PC, preserve flight clarity, and work through upscaling, clouds, frame limits and cinematic dips.
In this article
Start Ace Combat 8 on Low near the minimum PC specification, or Medium near the recommended specification, with upscaling enabled. These are upscaled 1080p baselines, with possible drops in graphics-intensive scenes.
I’d give upscaling the first look, then Cloud Quality when flight struggles through the weather. Keep the rest of your preset while judging those changes. Aircraft detail is worth preserving if you can, and one slow cinematic needn’t decide the picture for the whole campaign.
This is a starting setup, not a Hone-benchmarked preset. Crashes and sessions that worsen over time need separate troubleshooting.
Match the starting preset to the PC
The minimum GPU tier in the Steam requirements (opens in a new tab) is an RTX 2060 or RX 6600 XT with 16 GB of RAM. The recommended tier is an RTX 3070 or RX 6800 with 32 GB of RAM. Check the complete configuration, including the CPU, before placing your PC in either tier.
| Starting tier | Graphics baseline | Published target |
|---|---|---|
| Near the minimum specification | Low, with upscaling | Upscaled 1080p at 30 FPS, with possible demanding-scene drops |
| Near the recommended specification | Medium, with upscaling | Upscaled 1080p at 60 FPS, with possible demanding-scene drops |
On a 1440p or 4K monitor, start by keeping your preferred output resolution and using an upscaling mode that reduces the internal rendering resolution. Lower the output resolution too if flight still falls short. The recommended specification doesn’t promise native 4K at Ultra.
The PC requirements also list Windows 11, an SSD, DirectX 12 with Shader Model 6.6 or higher, and a hardware-ray-tracing-capable graphics card. For the Steam installation, plan around its listed 150 GB of available space. The publisher website currently lists 125 GB; neither number is a measurement of your installed copy.
A practical settings starting point
Use Graphics and its Advanced Settings page for these choices. Start with the preset above, then work on the scene that needs help.
| Menu setting | Starting choice | When to change it |
|---|---|---|
| Screen Settings | Borderless if you prefer that screen mode | Use the screen mode you prefer |
| Resolution | Your desired output resolution | Lower the output if upscaling still leaves flight too slow |
| Preset | Low near minimum; Medium near recommended | Raise detail once flight meets your goal |
| Upscaling Type | An available option for your GPU | TSR and NVIDIA DLSS appear in the inspected menus; AMD FSR is also reported |
| Upscaling Quality | Quality where offered | Try Balanced when you need more performance |
| Cloud Quality | Keep the preset value first | For slow, cloud-heavy flight, try one step lower; Medium is a candidate from higher settings |
| Model Quality and Textures | Keep the preset values | Raise for more detail when there is room; lower Textures for memory or streaming symptoms |
| Shadows, Effects and Post-Processing | Keep the preset values | Consider reductions if the relevant mission segment remains slow |
| Reflection Quality and Global Illumination Quality | Keep the preset values | Judge changes in the affected scene, including hangars or cinematics |
| Motion Blur | Off if you want less blur | Choose the amount of blur you prefer |
| Bloom | Preference | Keep the effect if you like it |
| Frame Rate Limit | A target your demanding flight can sustain | Use the available limits; a brief peak is not a sustainable goal |
| V-Sync | Off if responsiveness matters more than tearing | For tear-sensitive play, account for your display and presentation settings |
Choose upscaling before sacrificing more detail
What changes inside the rendering path?
Conceptual rendering paths; not a captured comparison. These diagrams show neither actual image quality nor FPS.
Both rendering paths
Native rendering
The internal render uses the chosen output resolution. In the captured menu, TSR / NATIVE enhances the picture at native resolution; selecting TSR alone does not establish a lower-resolution render.
Lower-resolution reconstruction
A lower-resolution upscaling mode reconstructs the picture for the chosen output. Compare Quality and Balanced where offered, watching distant aircraft, cockpit instruments and HUD text while turning.
There is no Frame Generation, NVIDIA Reflex or separate ray-tracing control in the inspected launch graphics menus. The choices here use the built-in settings; driver features and mods are separate setups.
Give clouds their own comparison
Give the difficult scene one useful comparison
Choose the scene you want to improve. Each route suggests a comparison; it does not diagnose a bottleneck or predict an FPS gain.
All four scene comparisons
Cloud-heavy flight
- Try next
- Compare Cloud Quality one step lower. Medium is worth comparing if you are starting higher.
- Keep fixed
- Keep Model Quality, Textures, output resolution, route and camera fixed.
- Judge in motion
- Check the cloudy segment and the weather detail you want to preserve.
Ordinary flight below target
- Try next
- Compare Quality and Balanced upscaling where offered before cutting more detail. If flight remains slow, compare one relevant detail setting.
- Keep fixed
- Keep output resolution, mission segment and camera fixed within each comparison.
- Judge in motion
- Watch distant aircraft, cockpit instruments and HUD text while turning, alongside frame rate and recurring hitches.
Cinematic or hangar dip
- Try next
- Compare one detail setting in the affected scene, including Reflection Quality or Global Illumination Quality. This does not identify either setting as the cause.
- Keep fixed
- Use the same cinematic or hangar view. Keep unrelated settings fixed.
- Judge in motion
- Decide whether improving that scene is worth carrying lower detail through flights you already enjoy.
Flight already meets my goal
- Try next
- Keep your preferred detail. Stop lowering settings once flight meets your goal.
- Keep fixed
- Keep the setup that works; save it before trying higher detail.
- Judge in motion
- Raise detail selectively if you want it, and retain the picture and consistency you prefer.
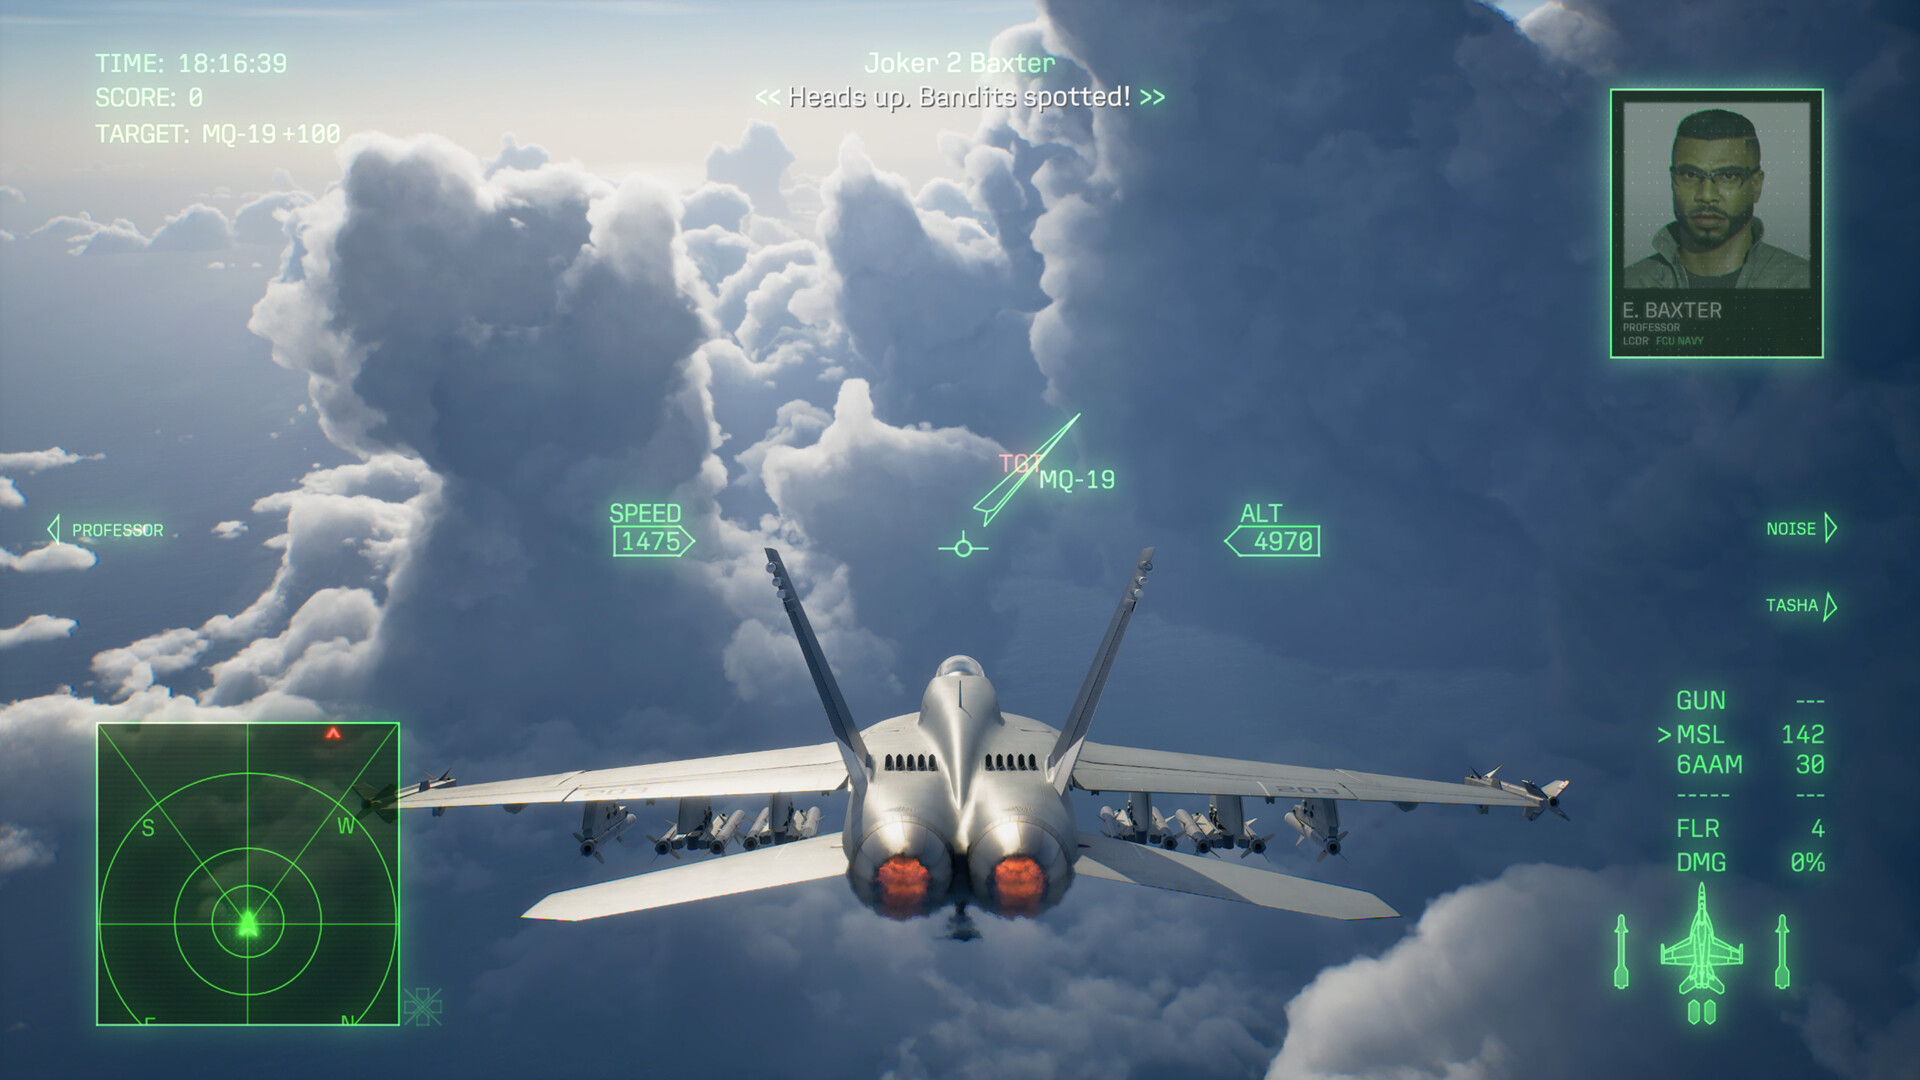
Pick a frame rate the flight can hold
Choose an available Frame Rate Limit for the busy part of the mission. A number reached briefly on an easier stretch is a poor basis for the whole flight. If you’re repeatedly falling below your chosen limit, try a lower goal; if flight holds it comfortably, you have room to aim higher.
Keep recurring hitches in view alongside the counter. Average FPS can leave you satisfied with the number while a particular moment still freezes, and it doesn’t measure input latency.
Leave V-Sync Off if responsiveness is your priority and you can tolerate tearing. For tear-sensitive play, the right setup depends on your monitor’s variable-refresh support and presentation settings. V-Sync handles frame presentation, so multiplayer connection lag belongs in a different investigation.
Compare FPS changes consistently (opens in a new tab) when trying a graphics adjustment or a Windows change with Hone.
Treat cinematic dips and worsening sessions separately
A smooth sortie can still lead into a slower cinematic. DSOGaming’s launch analysis reported demanding real-time cinematics alongside faster flight scenes; its stress-scene result doesn’t predict every mission or PC.
If the cinematic is your concern, judge detail changes there. You may prefer to keep the picture you enjoy during flight and accept a dip in that sequence. Lowering settings everywhere is a cost worth weighing against the part it improves.
A session that starts well and worsens across successive missions needs a different approach. One high memory reading doesn’t prove a leak, and graphics changes won’t tell you why memory use keeps rising. Use the Ace Combat 8 troubleshooting guide (opens in a new tab) for repeated freezes, crashes or deteriorating sessions.
One useful tuning pass
Save your starting setup and use one repeatable flight segment. Keep the output resolution, route and camera fixed while changing one setting or related group, and judge the picture in motion alongside FPS and recurring hitches. If the problem is a cinematic, include that sequence.
Once flight meets your goal, stop lowering settings. Raise detail selectively if you want it, or keep the setup and get back to the campaign.
Frequently asked questions
What are the best starting settings for Ace Combat 8 on PC?
Start Low near the minimum specification or Medium near the recommended specification, with upscaling. These are upscaled 1080p starting points with possible drops in demanding scenes. Cloud Quality deserves attention when cloudy flight is below your target.
Should I use Quality or Balanced upscaling?
Try Quality first where your upscaler offers it. Balanced is the next option when you need more performance; judge distant targets, cockpit instruments and HUD text while turning. These labels do not establish a fixed internal-resolution ratio.
Does selecting TSR automatically lower the rendering resolution?
No. TSR with Upscaling Quality set to NATIVE renders at native resolution, according to the captured menu help. To reduce the internal rendering resolution, choose an available lower-resolution upscaling mode.
Does Ace Combat 8 have native frame generation?
The inspected launch graphics menus have no Frame Generation control, and the October 6 PC performance report states that native DLSS and FSR frame generation are absent. External driver features and mods are separate from the built-in menu.
Will a frame-rate cap fix stuttering?
A cap does not remove an engine stall. Use the troubleshooting guide if freezes recur or performance worsens during a session.

Written by
Digital Marketing Manager
Keep reading