How to compare two FPS benchmark results
Check whether your benchmark runs match, read average FPS alongside frametimes, and decide when a before-and-after comparison needs repeating.
In this article
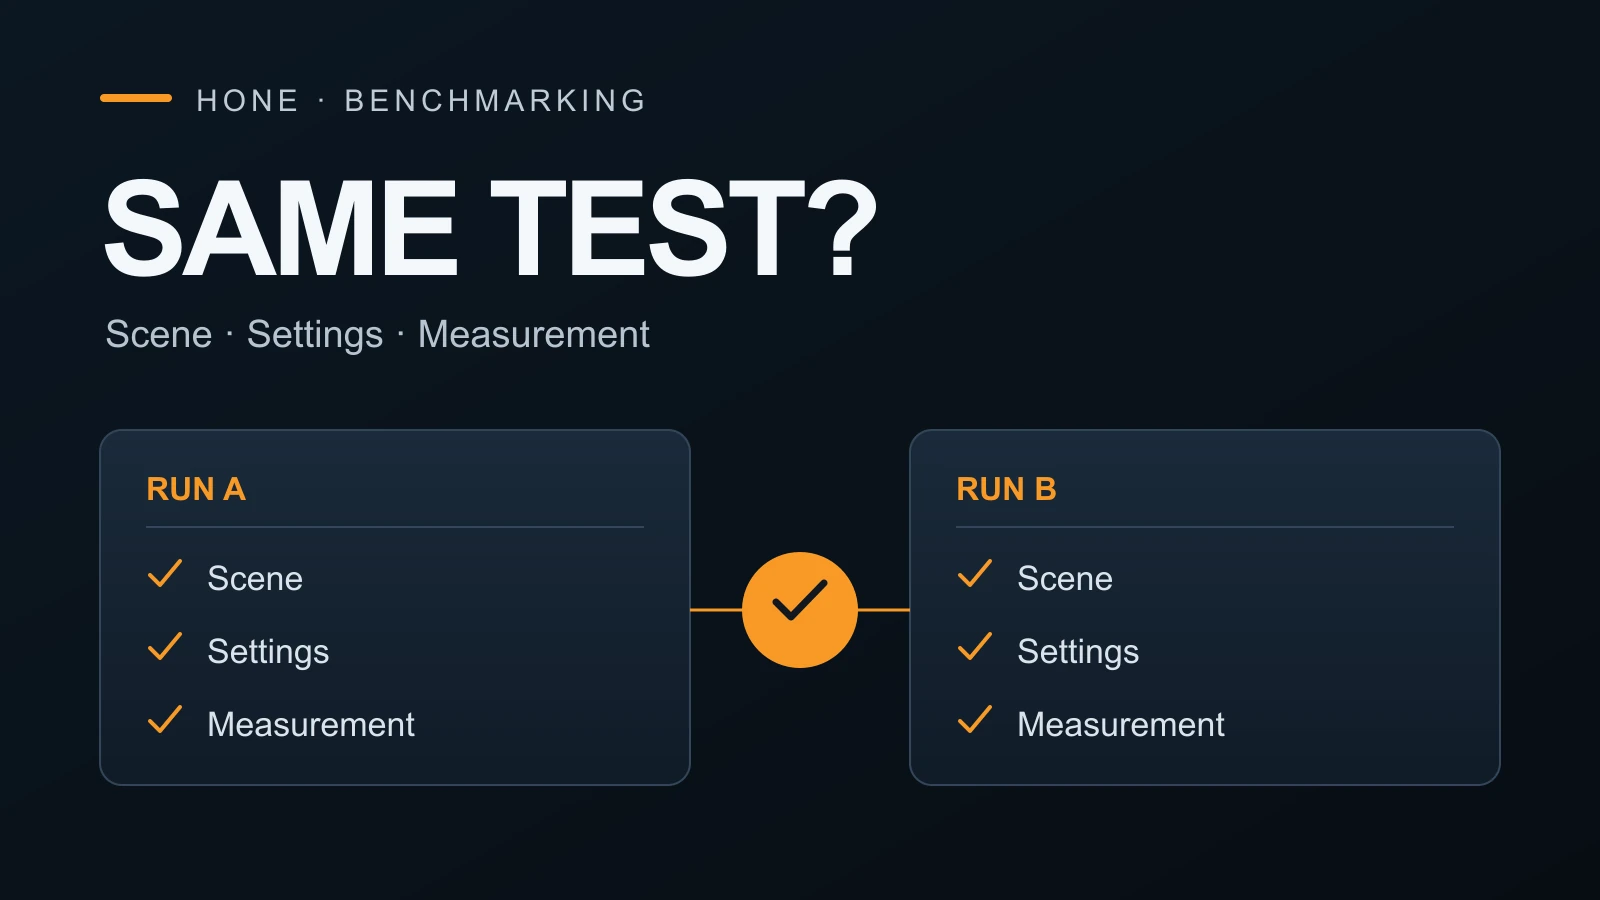
Before calling a higher FPS number an improvement, check that both runs measured the same task. Match the scene, settings and capture method, with only your intended change between them. If those conditions differ, rerun the test. If they match but the result keeps reversing, leave the comparison inconclusive.
Check whether the runs belong together
Open both reports and compare their setup notes before comparing their scores. Use this checklist to decide whether to keep the pair or collect another run.
| Check | What should match | If it does not match |
|---|---|---|
| Workload | Game build, scene, route and camera | Repeat the same scene. Keep different scenes as separate comparisons. |
| PC and settings | Hardware, driver, resolution, graphics, upscaling, FPS cap and sync state, except the change being tested | Restore the baseline setup or describe the comparison as testing several changes together. |
| Capture window | Start and end criteria, plus duration | Capture the same section again. Avoid trimming only the worse run. |
| Tool and metric | Tool version, timing stream and low-FPS calculation | Reprocess compatible captures consistently, or capture both again. |
| Frames included | Game process, dropped-frame policy and generated-frame treatment | Match the capture options and record what the report includes. |
| Preparation | Warm-up and cache preparation procedure | Repeat using the same procedure for both configurations. |
This is a practical comparison checklist. It does not prescribe a universal warm-up time or cooldown. Microsoft’s testing methodology (opens in a new tab) illustrates why setup, recording and rerunning belong in a defined procedure; its device-lab timings are not requirements for every gaming PC.
Keep the scene relevant
A built-in benchmark can give you a repeatable workload, but it may miss the part of the game you want to improve. CapFrameX’s scene-selection guide (opens in a new tab) discusses that limitation. Use the same repeatable scene on both sides, then keep your conclusion specific to it. A result from that scene cannot establish performance throughout the game.
Check what the capture counted
Frame generation needs an explicit note. Record whether it was enabled and whether the reported stream includes generated frames. Also record whether frames that were not displayed were excluded. Neither capture policy should silently change between runs.
PresentMon’s documentation (opens in a new tab) distinguishes MsBetweenPresents, which measures intervals between Present calls, from DisplayedTime, which describes how long a frame was displayed. Those are different measurements. A Present-call rate alone does not establish displayed cadence or input latency. PresentMon’s generated-frame classification also requires application or driver instrumentation; do not assume every capture can identify those frames.
Read beyond average FPS
Once the setup matches, read average FPS beside the complete frametime trace: the sequence of measured frame intervals. The average summarizes the run but loses the position of individual slow frames. A long interval marks a pause in that measured stream; it does not, by itself, identify the cause or prove a visible display freeze.
Check the definition behind a low-FPS number before comparing it. A percentile cutoff, an average over the slowest fraction and a time-weighted low summarize different things. CapFrameX explains these metric differences (opens in a new tab). Matching labels such as “1% low” are insufficient without matching calculations, capture boundaries and exclusions.
If the average rises while lows fall, retain both observations. Inspect the traces and repeat before deciding what changed.
Repeat when the conclusion is uncertain
Keep each run’s result instead of saving only the best-looking pair. Compare the spread of the repeated results for each configuration. Some tail measurements can move with a few isolated slow frames, as the CapFrameX metrics guide describes.
If a small difference changes direction across comparable runs, call the result inconclusive. This guide sets no universal run count or percentage threshold. Repeating a mismatched test also leaves the mismatch intact; fix the checklist failures first.
Save enough detail to repeat the comparison
Keep the two configurations, your checklist notes and all individual results together. State what changed and which scene you tested. If you changed a whole profile, describe a profile comparison: it cannot tell you how much each setting contributed.
Bring the same comparison notes with you so the next test answers the same question.
Frequently asked questions
Are two benchmark runs enough?
One before-and-after pair gives you a comparison, but does not show how much repeated runs vary. Repeat both configurations and keep each result. If a small difference keeps changing direction, leave the outcome inconclusive.
Can I compare 1% lows from different tools?
Only after checking that the calculation, timing stream, capture window and exclusions agree. A percentile cutoff and an average of the slowest fraction are different summaries, even when their labels look similar.
What if average FPS improves but the lows get worse?
Keep both observations. Check that the low calculation matches, inspect the complete frametime traces and repeat the comparison. A higher average alone does not establish smoother play, and one timing spike does not identify its cause.
Does a built-in benchmark represent the whole game?
No. It can provide a repeatable scene, but that scene may differ from the demanding gameplay you care about. Keep conclusions specific to the tested scene, settings and PC.

Written by
Digital Marketing Manager
Keep reading