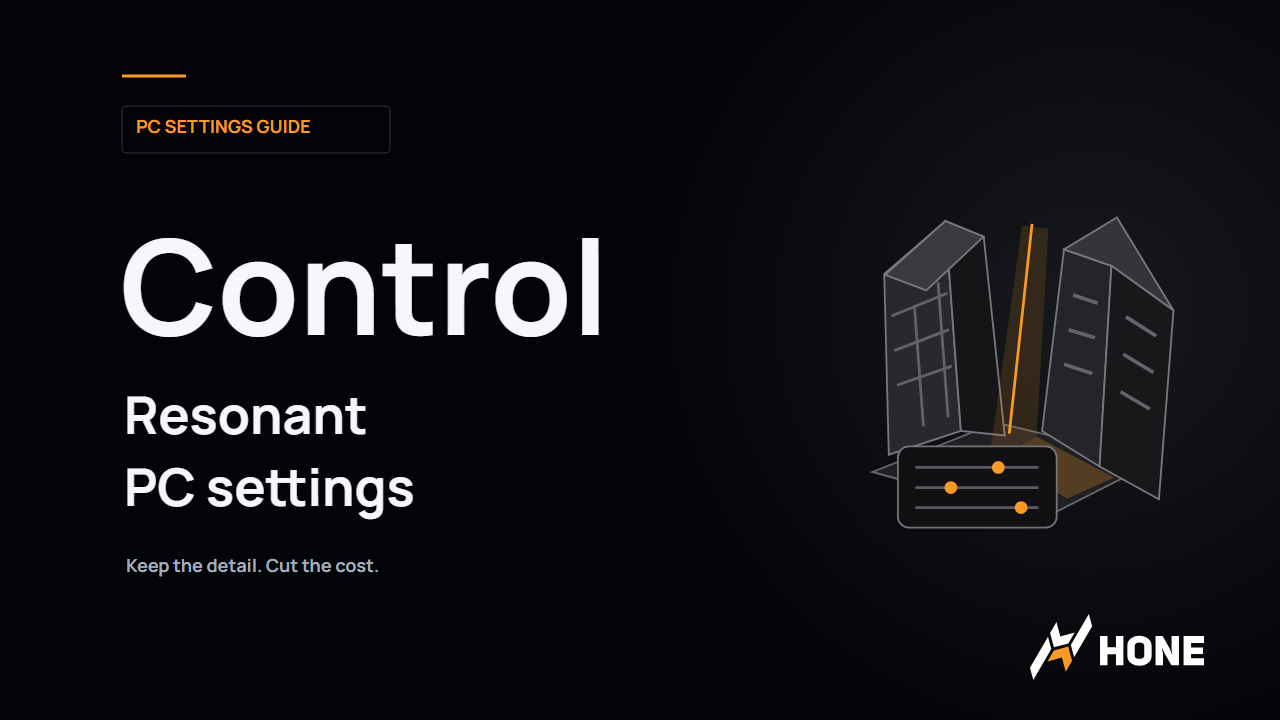
Best Control Resonant PC Settings: Keep the Detail, Cut the Cost
Start with a practical Control Resonant graphics setup, manage textures and upscaling, then choose ray tracing and frame generation for your PC.
In this article
Start Control Resonant with ray tracing Off, keep LOD and Global Illumination High, and use the Mainstream graphics profile below. Once combat runs satisfactorily, spend any remaining room on the lighting and shadows you actually want.
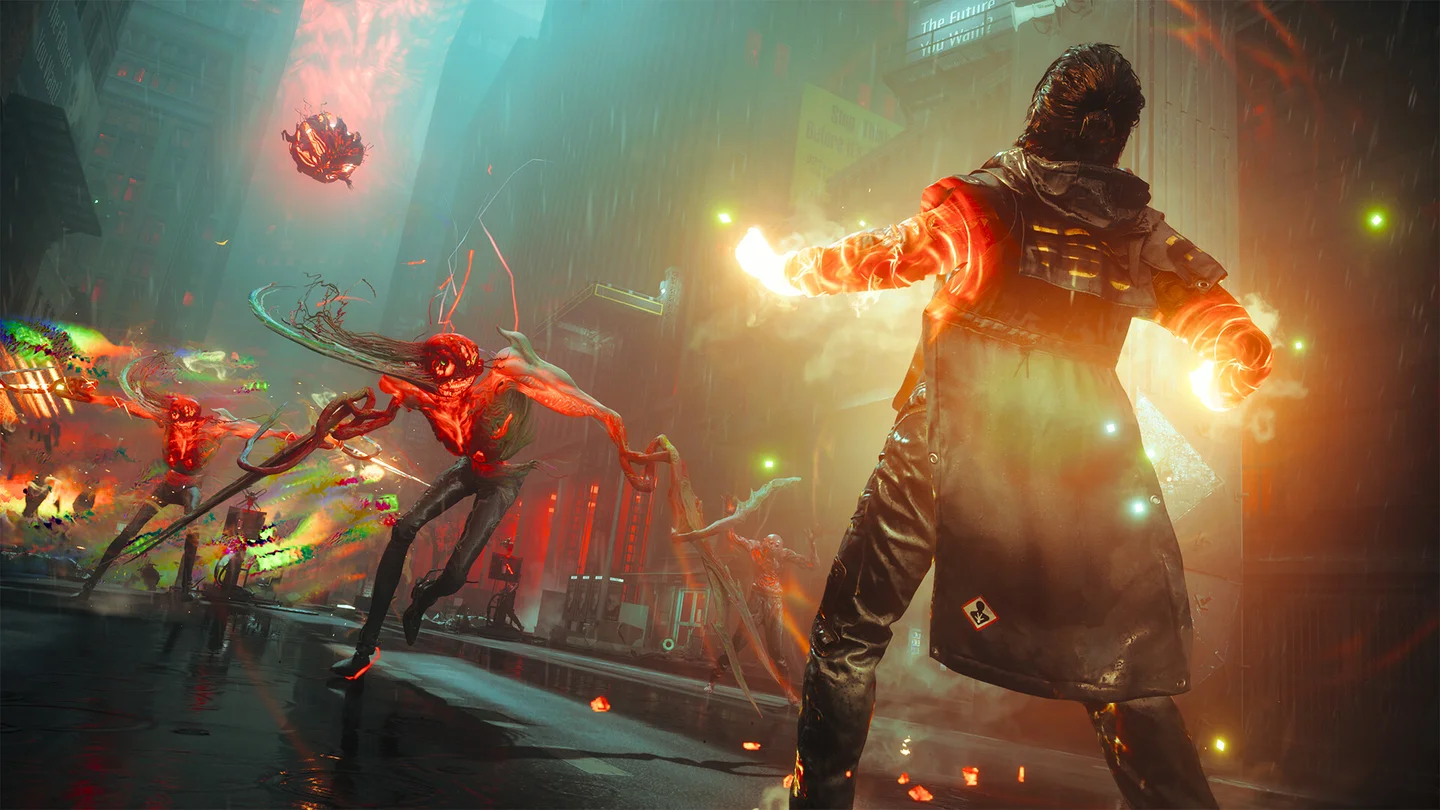
Remedy’s warped Manhattan gives those choices a purpose. Reflections, atmospheric lighting and detailed geometry are part of the picture you’re trying to preserve. Keep enough of that character while making Dylan’s fights playable; turning the whole menu to Low needn’t be your first move.
The graphics setup to start with
The two columns below use Digital Foundry’s optimized profiles. Start with Mainstream when performance is the priority. Enhanced spends more on textures, atmospheric effects and shadows; it still leaves ray tracing as a separate decision.
Choose a visual budget
Mainstream first, enhanced when there’s room
Digital Foundry’s two starting profiles keep LOD and Global Illumination High. Focus a column to see where the enhanced profile spends more.
Mainstream: mostly Medium atmospheric and shadow settings, with ray tracing Off. Medium textures are a starting choice for 8 GB cards.
| Setting | Mainstream | Enhanced |
|---|---|---|
| Texture Resolution | Medium on 8 GB; lower if memory pressure persists | High if memory allows |
| Texture Filtering | Ultra | Ultra |
| Level of Detail (LOD) | High | High |
| Global Illumination | High | High |
| Volumetric Lighting | Medium | High |
| Volumetric Spotlight | Medium | High |
| Fog | Medium | Medium |
| Shadow Map Resolution | Medium | Ultra |
| Shadow Map Filtering | Medium | High |
| Shadow Map Detail | High | High |
| Screen Space Ambient Occlusion (SSAO) | On | On |
| Screen Space Reflections (SSR) | Medium | Medium; High with headroom |
| Signed Distance Field (SDF) Reflections | High | High |
| Ray Tracing Preset | Off | Off initially; optional later |
| Post Processing Resolution | Render Resolution | Render Resolution |
Attributed starting configurations, not a measured Hone result or an FPS guarantee. Texture capacity depends on resolution, effects and the scene; 8 GB does not guarantee that Medium fits. Ray tracing remains a separate comparison.
Keep LOD and Global Illumination High initially. Lower LOD makes distant geometry less detailed, while Ultra Texture Filtering keeps angled surfaces clearer. Preserve those details before cutting the effects you care less about.
Shadows and reflections leave more room for taste. The Mainstream profile uses Medium shadow resolution and filtering. You could spend more on sharper shadows while lowering reflections, or keep the cheaper shadows to protect reflections. SDF complements screen-space reflections by including geometry outside the current view, so switching it Off sacrifices coverage. If you need another cut, compare SDF Off before lowering the whole table.
Use the walkthrough below to find the controls. BareFox’s chosen values differ from the profiles above, so pick a setup deliberately rather than mixing them accidentally.

BareFox: Control Resonant PC settings · Watch on YouTube (opens in a new tab)
Textures need room, especially on 8 GB cards
Start with Medium textures on an 8 GB GPU, but be ready to compare Low. In BenchmarKing’s RTX 3060 Ti test at 1440p with DLSS Preset K Balanced and optimized settings, Medium approached the card’s memory limit; Low left more room.
Resolution, ray tracing, frame generation and the scene all change the remaining memory budget. A texture setting that fits a raster setup may be too ambitious after you add more effects. Consider Medium even on a 12 GB card when adding RT or frame generation; capacity alone doesn’t settle the choice.
If demanding areas remain troublesome, compare Low textures while keeping the rest of the setup fixed. Judge the texture compromise alongside the recurring problem. A VRAM overlay can help, but allocation and use readings vary; it cannot certify smooth combat by itself.
Keep display resolution; choose the rendering workload
Display Resolution describes the output image. Render Resolution describes the smaller image the upscaler reconstructs. At 2560 × 1440, the DLSS menu shown in the walkthrough maps Quality to 1707 × 960, Balanced to 1485 × 835, and Performance to 1280 × 720. Those are the shown DLSS choices, not a sizing rule for every upscaler.
Observed DLSS menu sizes
One output, three source images
The outline stays at 2560 × 1440. The orange rectangle shows the internal dimensions selected in BareFox’s inspected DLSS menu.
| DLSS mode | Internal image | Output image |
|---|---|---|
| Quality | 1707 × 960 | 2560 × 1440 |
| Balanced | 1485 × 835 | 2560 × 1440 |
| Performance | 1280 × 720 | 2560 × 1440 |
Schematic dimensions, not a reconstructed screenshot or an FPS prediction. These are observed Control Resonant DLSS choices at 1440p; they do not establish FSR sizes, other output resolutions or current-patch behavior.
For GeForce RTX, start with DLSS Quality at 1440p or 4K, then try Balanced if you need more room. Other supported GPUs use FSR; the September 2026 build has no XeSS upscaler. Look at the reconstructed picture in motion as well as at rest. Lower internal resolution asks the upscaler to build the final image from less source detail.
On an RTX 20- or 30-series card, compare NVIDIA App Preset K as a lighter alternative to the game’s DLSS 4.5 path. The in-game DLSS (Legacy) option is different: it uses Preset E. Digital Foundry recommends K for this comparison and prefers its image quality. Make that choice separately from the Quality/Balanced rendering mode.
Set Post Processing Resolution to Render Resolution as another compromise, although the option can become unavailable with DLSS Ray Reconstruction. Motion Blur, Film Grain, Depth of Field, Lens Distortion and Vignetting are largely taste choices. Turn Motion Blur and Film Grain Off if you prefer a cleaner moving image. Keep an effect you enjoy; don’t expect these switches to rescue a demanding lighting setup.
Ray tracing is where the extra budget goes
Get a satisfactory raster result before adding RT. The non-RT rendering already includes indirect lighting and software-traced reflections, so Off still leaves a deliberate lighting setup. Enhanced raster settings and ray tracing are separate ways to spend your remaining performance.
Start with Direct Lighting, then add other RT effects as room allows. Indirect Lighting is the path-traced bounce-lighting control, so give that addition its own comparison. It expands the workload beyond direct lighting and shadows.
For a fuller traced presentation, Digital Foundry’s RT profile uses High Direct Lighting, High Indirect Lighting, Medium for both denoising controls, Medium or High Transparency, and Debris On. Its NVIDIA recommendation includes Ray Reconstruction. Compare Ray Reconstruction separately on older RTX hardware before keeping it; a feature being available doesn’t tell you whether its cost suits your setup.
Frame generation: a bigger counter needs a second judgment
Establish your source frame rate with frame generation Off, then compare 2x if your GPU offers it. Generated intermediate images can make the output look smoother, but the larger number does not represent the same number of newly rendered game frames or input samples. Higher multipliers and Dynamic depend on the hardware; the options shown on an RTX 5070 Ti do not establish what every card supports.
Illustrative arithmetic
Source frames and inserted images
Change the source rate and ideal total output ratio. Solid boxes represent source images; dashed orange boxes represent inserted images. This is a static sequence diagram, not timed playback.
60 source FPS · 16.67 ms between source frames · 120 ideal output images/s, including 60 inserted images/s.
S = source image · I = inserted image. The diagram shows sequence, not measured delivery or latency.
Formula and static example
Source interval = 1000 ÷ source FPS. Ideal output = source FPS × total ratio. At 60 source FPS and 2x, the source interval is 16.67 ms and ideal output is 120 images/s, including 60 inserted images/s.
Ideal arithmetic only. Excludes generation overhead, dropped images, refresh limits and pacing; generation can change the source rate. Source interval is not input-to-display latency. The ratios are illustrative and do not establish GPU support or available game options.
Compare how combat responds, how motion looks and whether artifacts distract you. Keep 2x if the overall result is better. A higher multiplier has to earn its place through play, even when the counter makes a persuasive sales pitch.
Make the next change answer one question
Use a recurring combat or traversal route, keep resolution and the other settings fixed, and compare one change at a time. Include repeat runs so a single unusual fight doesn’t decide your setup. For FG comparisons, distinguish the source result from generated output. Our guide to comparing FPS benchmarks (opens in a new tab) explains matched tests and frametime evidence in more detail.
Remedy’s recommended tier targets 1440p at 60 FPS on Medium, with Balanced upscaling and RT Off: Core i7-10700 or Ryzen 7 3700X, plus RTX 3060 Ti, RX 6700 XT or Arc B580. Both minimum and recommended tiers call for 16 GB RAM and a 120 GB SSD. These publisher targets exclude frame generation and don’t guarantee the same result on every equivalent PC.
Once the graphics choices are settled, consider Windows and background work separately. Our Hone Game Mode article (opens in a new tab) covers that side of optimization. Keep your saved game settings when exploring it, so your next comparison can tell you what changed.
Frequently asked questions
What Control Resonant PC settings should I start with?
Start with the Mainstream profile below: ray tracing Off, High LOD and Global Illumination, Ultra Texture Filtering, and mostly Medium atmospheric and shadow settings. Use Medium textures initially on an 8 GB card, then compare Low if memory pressure persists.
Should I enable ray tracing in Control Resonant?
Leave it Off while establishing a satisfactory combat frame rate. If you have room for more lighting detail, start by comparing Direct Lighting before adding other effects. Indirect Lighting enables path-traced bounce lighting and deserves a separate performance comparison.
Is DLSS Legacy the same as Preset K?
No. The in-game DLSS (Legacy) option uses Preset E. Forcing Preset K through the NVIDIA App is a separate choice; compare the available options on your RTX GPU rather than treating the names as interchangeable.
Does frame generation improve input responsiveness?
A higher generated FPS number does not establish better responsiveness. Compare Off and 2x on your setup, keeping the other settings fixed. Judge combat response, motion and artifacts alongside the counter.

Written by
Digital Marketing Manager
Keep reading