Deadlock Best Settings for FPS: Keep Fights Readable
Start with Low shadows and fog, AO Off and Med textures, then choose upscaling, Reflex and a frame cap with their visual and sync tradeoffs in mind.
In this article
Start with Low shadows, Low fog, Screen space AO Off and Med textures. Keep your display’s native output resolution and highest usable refresh rate, then try 1.5x upscaling if the rendering cuts still aren’t enough. I’d reduce the atmosphere before shrinking the whole picture: a frame-rate improvement has less value when you’ve made the fight difficult to read.
The choices below use Valve’s English settings definitions and tooltips extracted by GameTracking on September 30, 2026 (opens in a new tab), after City Never Sleeps. They are a supported starting profile, not a setup we’ve benchmarked. We haven’t captured the live menu on a PC, and hardware can affect which options appear. For the update’s map and practice changes, use our City Never Sleeps guide (opens in a new tab).
Start with these Advanced settings
Enable Advanced settings so you can choose the compromises individually. The first four rendering changes below are the heart of this profile; the other controls either shape the picture or depend on what you want from the display.
| Setting | Starting choice | Why, or when to change it |
|---|---|---|
| Output resolution and refresh | Native resolution; highest usable refresh | Keep a clear output image and the display mode your connection and monitor support |
| Shadow quality | Low | Reduces shadow rendering quality; try Med if you miss the detail and have headroom |
| Fog quality | Low | Reduces volumetric fog resolution |
| Screen space AO | Off | Removes soft contact shadowing; Valve describes its cost as moderate and consistent |
| Texture quality | Med | Keeps some texture detail; Low is a further trial on a constrained PC |
| Upscaling and scaling mode | Start at 1x; try 1.5x when reducing rendering work is needed | Use an available technology; NVIDIA DLSS requires GeForce RTX |
| Post process bloom; Effects bloom | Off for a leaner picture | Valve describes their costs as small and consistent |
| Area lights | Off for this performance-oriented profile | Valve describes a small cost that can be higher on low-end systems |
| Depth of field | Preference | Valve describes negligible cost and no gameplay-performance effect in its current state |
| NVIDIA Reflex | Enabled, when available | Start with the latency-oriented mode; Boost has power and FPS tradeoffs |
| VSync | Off if tearing is acceptable; follow the G-Sync route below for tear-free play | The right choice depends on your sync goal |
| In-game maximum FPS | A sustainable rate suited to your sync goal | Avoid copying a universal cap or a fixed below-refresh margin |
| Dashboard maximum FPS | 60 | A reasonable menu-work baseline, separate from the match cap |
| Rendering / Graphics API | Keep the working choice | There is no established universal DX11 or Vulkan winner here |
The tracked Valve tooltips (opens in a new tab) supply the cost descriptions in this table. They give AO, shadows and fog a reason to go first, but don’t rank the FPS each will recover on your machine.
Understand the picture you’re trading away
Low shadows and fog reduce the quality or resolution of those effects. AO adds soft contact shadowing, so switching it off removes that extra detail. These are targeted cuts: they leave the output resolution alone while reducing particular rendering work.
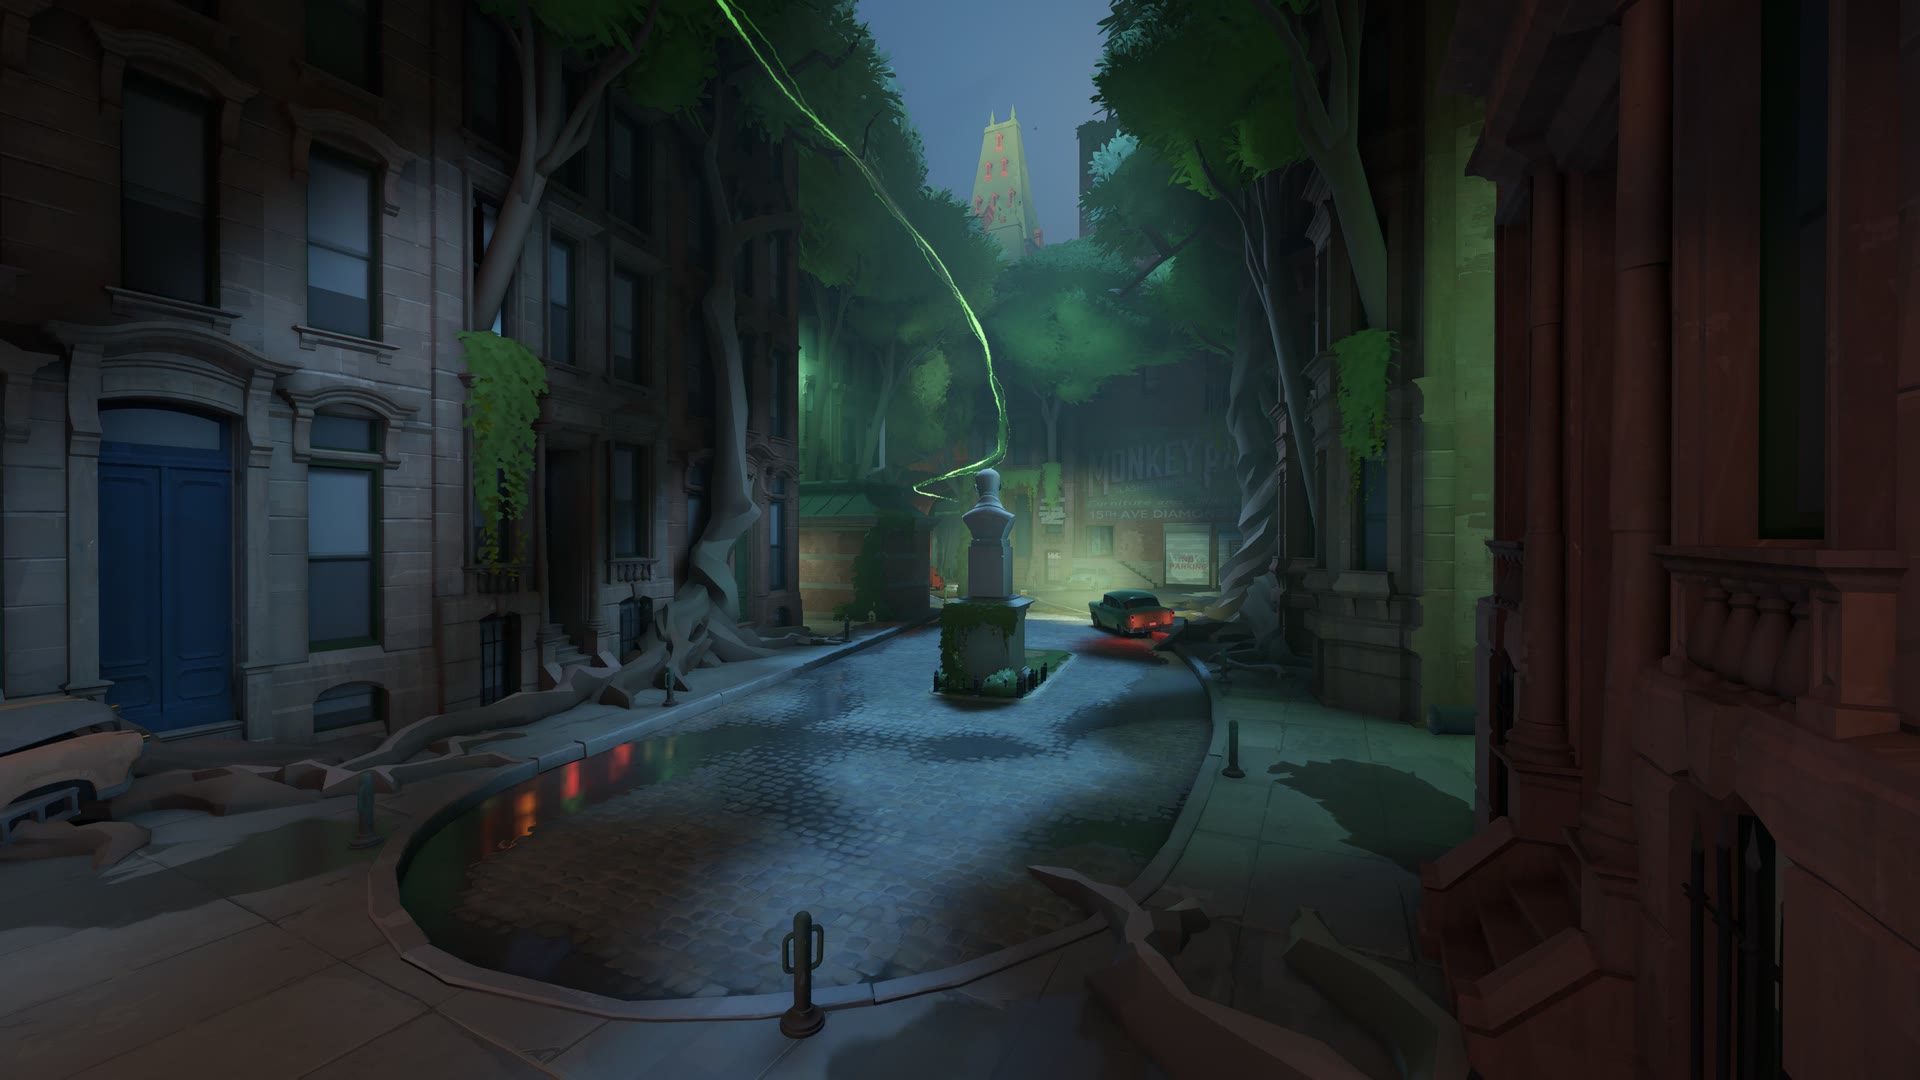
Textures deserve a gentler starting choice. Valve says lower texture resolution can possibly improve performance on lower-end systems. I’d begin at Med, then try Low if you still need another cut. That wording doesn’t support flattening the textures automatically in exchange for a supposed large FPS win.
Bloom and Area lights can share a lower priority. Post process bloom spreads bright light into the surrounding image, Effects bloom enhances effects through the bloom buffer, and Area lights render large or irregular light sources such as beams. Turn them off for this leaner profile, but remember that Valve calls their costs small; Area lights may cost more on a low-end system. If you miss their appearance, they’re candidates to restore once you have a useful result.
Depth of field is easier to settle: choose the picture you prefer. Its current tooltip says the cost is negligible and it should not affect gameplay performance. Keep it off if you prefer the image without it; treat that as a visual choice.
Try 1.5x before going straight to 2x
Upscaling renders a lower-resolution input and reconstructs the output image. NVIDIA DLSS requires a GeForce RTX card. AMD describes FSR2 (opens in a new tab) as temporal reconstruction without dedicated machine-learning hardware, with support extending to compatible AMD and competitor GPUs. Pick an option your system exposes; that isn’t a promise that every GPU supports every mode.
The tracked menu uses 1x, 1.5x, 1.7x and 2x for FSR scaling. DLSS includes 1x (DLAA) and Auto alongside the reduced-resolution tiers. At 1x, the ideal internal dimensions equal the output dimensions. It can still involve processing, so “native” isn’t shorthand for the fastest configuration.
The higher ratio labels mean smaller internal images. Explore their ideal dimensions and pixel area at your output resolution below.
How much of the internal image remains?
Compare ideal dimensions and pixel area at your output resolution. The orange rectangle is the internal image; the outlined rectangle is the output.
Illustrative geometry only. Dimensions are rounded to whole pixels; the game may round differently. Pixel share uses the unrounded scale. This is not an FPS prediction, image-quality score or game screenshot. Auto has no fixed dimensions here.
Formula and 1080p reference cases
Internal width and height = output dimension × linear scale. Pixel share = linear scale². For a ratio, linear scale = 1 ÷ ratio.
| Ratio | Ideal internal image | Output pixels |
|---|---|---|
| 1x | 1920 × 1080 | 100.00% |
| 1.5x | 1280 × 720 | 44.44% |
| 1.7x | 1129 × 635 | 34.60% |
| 2x | 960 × 540 | 25.00% |
| 70% linear | 1344 × 756 | 49% |
| 50% linear | 960 × 540 | 25% |
At 1080p output, 1.5x corresponds to an ideal 1280 × 720 input. At 2x, that falls to 960 × 540. The game may round its render dimensions; Auto has no fixed dimensions to calculate here.
That explains why 2x is a substantial image compromise at 1080p. I’d try 1.5x first and pay attention to distant detail before moving further. If your image is already blurry, move toward 1x instead of reducing it again. The upscaler has reconstruction work of its own, and other game work doesn’t shrink with the pixel count; 25% of the pixels cannot be read as four times the FPS.
Set Reflex, sync and caps for your goal
Start NVIDIA Reflex at Enabled when it’s available. NVIDIA recommends enabling Reflex (opens in a new tab) as a latency-oriented setting. Enabled + Boost isn’t an automatic FPS upgrade: Valve’s tooltip says it can draw more GPU power and slightly affect FPS while pursuing lower latency. Begin with Enabled rather than making that extra tradeoff by habit.
If you prioritize responsiveness and accept tearing, VSync Off is the conditional starting choice. NVIDIA’s guidance for that route includes switching it off in both the game and driver settings. Tear-free play is a different priority.
For active NVIDIA G-Sync and tear-free play, Deadlock’s resource text recommends G-Sync, V-Sync and Reflex together. NVIDIA describes automatic below-refresh capping in this combination, with slightly higher latency than uncapped Reflex play. Check the effective FPS on your chosen renderer before relying on that automatic cap. Keep it within the active display range and below the refresh ceiling for this goal; the evidence doesn’t establish one Deadlock cap margin for everyone.
The placement of VSync matters too. NVIDIA says driver VSync applies to fullscreen applications, and directs windowed players and MS Hybrid laptop users to in-game VSync for this setup. Don’t turn that into an instruction to switch both controls on everywhere. The NVIDIA auto-cap description also isn’t a promise for every FreeSync configuration or graphics API.
Keep In-game maximum FPS and Dashboard maximum FPS separate. Setting the dashboard to 60 is a reasonable way to limit menu work when the cap binds; it doesn’t raise match FPS. Choose the match cap around a rate you can sustain and your tearing or sync preference. Lowering the monitor’s refresh rate is a different change, with no established Deadlock FPS benefit here.
Make one comparison, then choose the next cut
Set HUD Telemetry → Show frame time and FPS → Always while you compare. The tooltip defines frame time as the worst recent frame time, while FPS is the current average. That lets a recent slow frame and the average tell different parts of the story; it isn’t an exported 1% low.
Use the same warmed-up replay section or another repeatable scene. Keep the hero, camera, output resolution, renderer, cap and sync state unchanged, then change one setting and repeat. A binding cap can hide a performance difference, so interpret a capped result accordingly. Our FPS comparison guide (opens in a new tab) explains the longer method when the result is uncertain.
Choose what you see to narrow the next comparison.
Leave file-changing configs for a separate decision
Menu tuning gives you a useful first route without adopting somebody else’s wider configuration. OptimizationLock’s inspected README (opens in a new tab) describes replacing gameinfo.gi, lists a missing Doorman ultimate indicator, and says major updates overwrite the file. Missing a gameplay cue is a real cost for a guide whose priority is readable fights. That config isn’t established here as universally faster or safe.
Once your in-game baseline is settled, Hone’s Deadlock page (opens in a new tab) covers its Windows-side offering, with the app on our download page (opens in a new tab). Hold the graphics baseline fixed if you explore a Windows change, so you’re judging that change rather than a different picture and cap at the same time.
Frequently asked questions
What Deadlock settings should I start with for more FPS?
For a constrained PC, try Shadow quality Low, Fog quality Low, Screen space AO Off and Texture quality Med. Keep native output resolution, then try an available upscaler at 1.5x if reducing rendering work is still useful. These are reasoned starting choices from Valve resources extracted September 30, 2026, not a benchmarked optimum or a promised FPS gain.
What does 1.5x scaling mean in Deadlock?
It describes output resolution divided by internal rendering resolution in each dimension. At 1920 × 1080 output, ideal 1.5x internal rendering is 1280 × 720, about 44.44% of the output pixel count. Actual game dimensions can be rounded; pixel geometry does not predict an FPS gain.
Should I enable NVIDIA Reflex and VSync in Deadlock?
Start Reflex at Enabled when available. VSync Off is a responsiveness choice if you accept tearing. For active NVIDIA G-Sync and tear-free play, the game recommends G-Sync, V-Sync and Reflex together. NVIDIA describes a below-refresh automatic cap in that setup, but check the effective FPS on your chosen renderer before relying on it. This is not an auto-cap promise for every FreeSync system or API.
Is a Deadlock FPS config a better first step than menu settings?
Use the menu first. OptimizationLock changes gameinfo.gi, and its inspected README lists missing gameplay cues and files being overwritten by major updates. That is a different tradeoff from lowering a menu setting; no universally faster or safe config is established here.

Written by
Digital Marketing Manager
Keep reading