Best Gears of War E-Day PC Settings: Start High, Spend Carefully
Choose practical E-Day graphics settings, balance lighting detail and performance, and make sense of Low Core Mode, upscaling and generated FPS.
In this article
Start Gears of War E-Day at High, or Medium if your GPU is struggling. Leave Low Core Mode Off on an ordinary desktop, and try Quality upscaling before trading away more image detail. Get a satisfactory frame rate first, then decide whether cleaner lighting is worth spending more of it.
E-Day gives you plenty to spend on. Choosing between a richer picture and a more responsive fight is easier when you know which setting deserves the next comparison. A preset establishes your starting point; it needn’t decide every setting you keep.
A useful starting setup
| Choice | Start here | What to check next |
|---|---|---|
| Graphics preset | High; Medium on a constrained GPU | Whether the frame rate is satisfactory in the fights you play |
| Upscaling | Quality, when available on your setup | Fine detail and stability during movement |
| Low Core Mode | Off on an ordinary desktop | Compare only if you have a specific reason to investigate it |
| Frame generation | Establish source performance first | Control feel, image artifacts and actual delivery |
Choose the preset before customizing individual settings. Otherwise, it’s easy to build a mixture you cannot retrace when a change disappoints. Keep the starting values somewhere you can return to.
Your priorities can change with what you’re playing. E-Day includes a campaign, Horde Siege and 4v4 Versus. You might accept a lower frame rate for a campaign scene you want to linger in, while preferring more performance room for Versus. Choose around that preference; these starting recommendations aren’t tested mode-specific presets.
Leave Ludicrous for a deliberate comparison
TechSpot’s 1440p preset comparison:
Paired preset results · 1440p
Which step are you comparing?
RX 9070 XT · Ludicrous → Ultra · +97% average FPS.
| Transition | RX 9070 XT | RTX 5070 Ti |
|---|---|---|
| Ludicrous → Ultra | +97% | +74% |
| Ultra → High | +22% | +22% |
| High → Medium | Overall reported range: +11–13%; not assigned by GPU | |
TechSpot’s Ryzen 7 9800X3D testbed, built-in benchmark. Each gain uses its own starting preset; gains are not additive or predictions for your PC. The 11–13% range has no per-GPU assignment.
Those results make High a sensible first stop. They don’t tell you what FPS your PC will reach, or which visual differences you’ll tolerate. Once High feels satisfactory, compare Ultra in a scene you care about. Look while moving and fighting, as well as while standing still. Keep the extra quality only if you prefer the result enough to accept its cost.
If High is still too demanding, try Medium before rebuilding every option by hand. A workable starting point makes selective improvements easier: you can raise one choice, compare it, and return to the previous value when the improvement isn’t convincing.
Choose your lighting tradeoffs
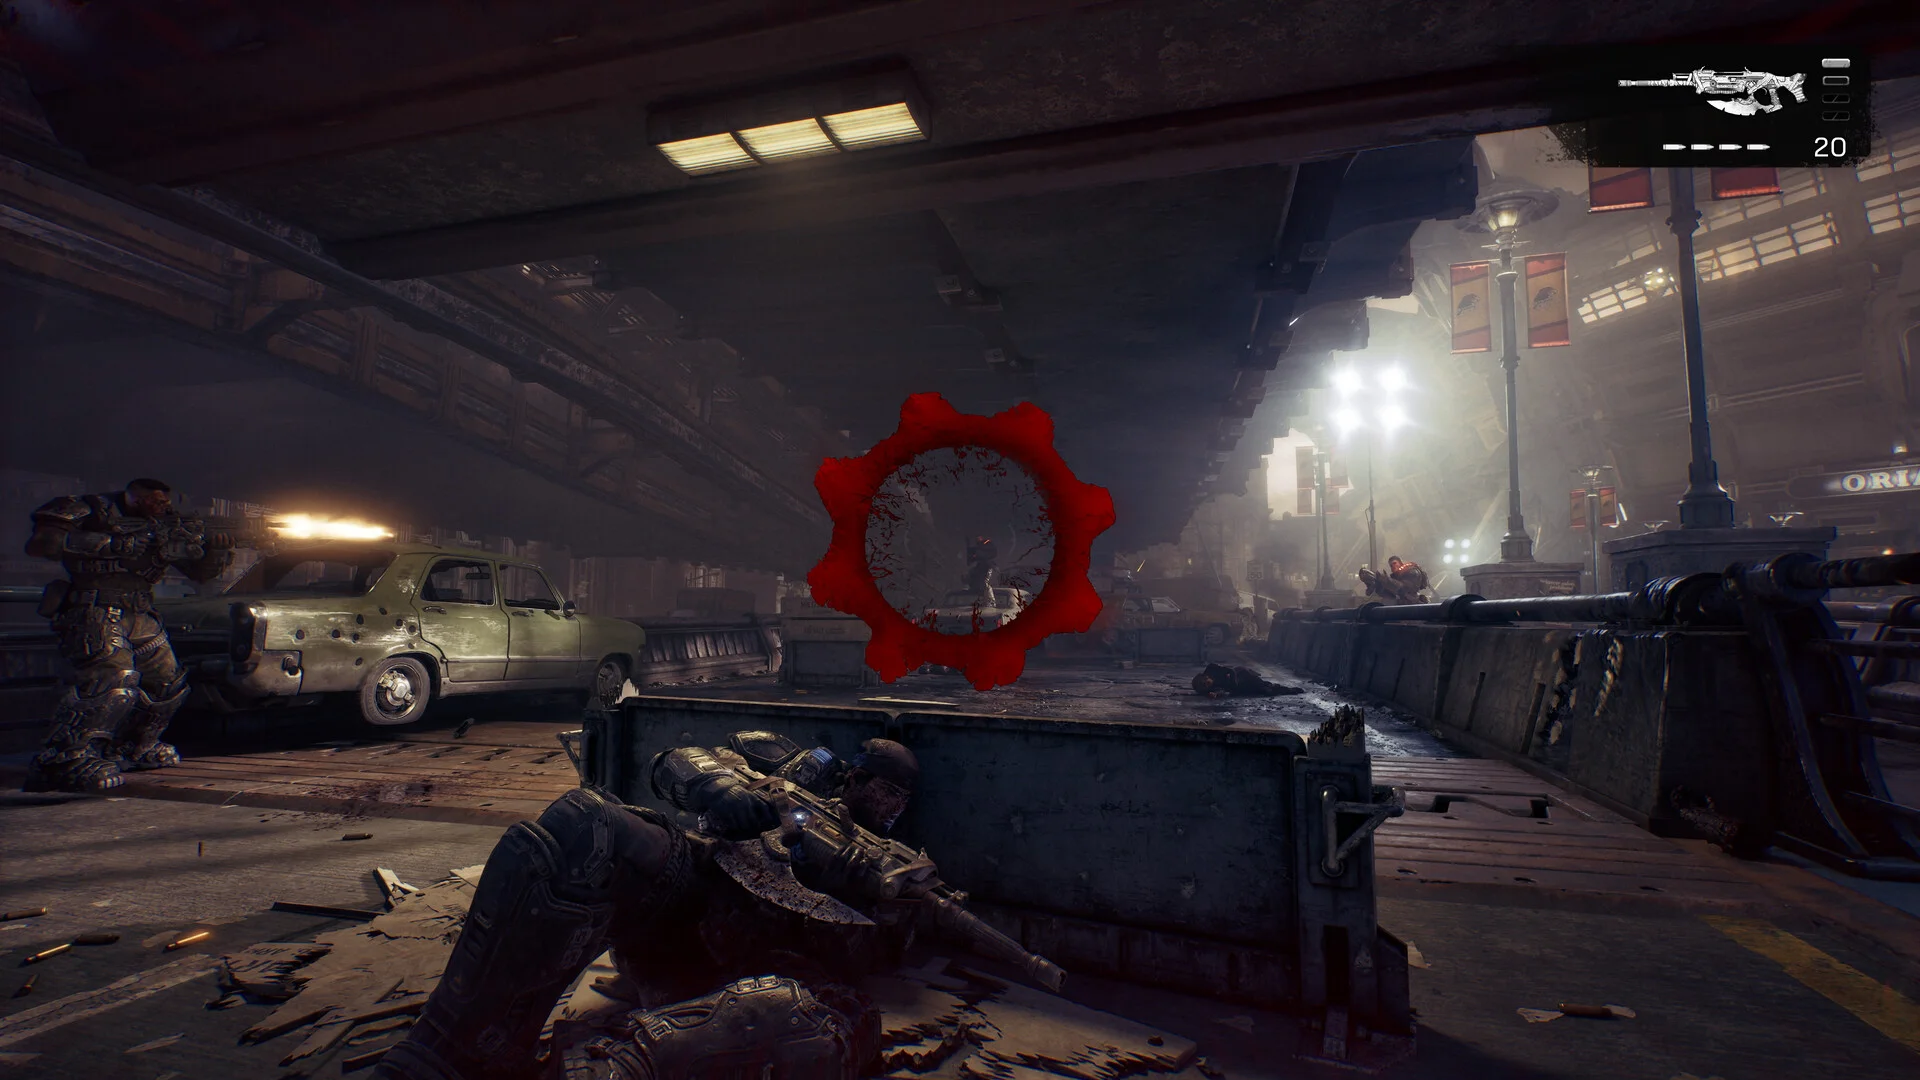
The custom profiles below come from Hardware Unboxed. Improved aims to reduce noise and artifacts; Performance changes the six choices shown in the table. Several shared settings remain Ludicrous, so Performance isn’t a blanket low-end preset. Treat either as a separate custom setup, rather than an adjustment to our initial High/Medium preset.
Hardware Unboxed custom profiles
Six choices that change
Improved column selected.
| Setting | Improved | Performance |
|---|---|---|
| Reflections | Ludicrous | Ultra |
| Ray Tracing Geometry | High | Medium |
| Volumetric Fog | High | Low |
| Ray Traced Shadows | Ludicrous | Ultra |
| Sunlight Shadows | Ultra | Medium |
| Variable Rate Shading | Off | On |
VRS switches On. These custom profiles are separate from the initial High/Medium baseline.
Compare these after establishing a workable baseline. Keep an eye on the effect that made you change settings: you still need to like the resulting picture.
Upscaling first, generated FPS second
Quality upscaling is our clarity-first starting recommendation. If the game remains GPU-limited, compare a more aggressive mode before lowering more effects. Watch thin edges, distant detail and moving objects at your normal viewing distance. A setting that looks acceptable in a screenshot can be less appealing when the camera moves.
Avoid making upscaling and frame-generation changes together. First choose a source-rendering setup you can comfortably play, then compare generation. That leaves you with a useful answer to two separate questions: whether the reduced render workload suits your picture, and whether extra generated images suit your play.
The calculator below separates source rendering from ideal generated output. Change the ratio while holding source FPS fixed, and watch which number stays the same.
Illustrative arithmetic
A bigger output count
- Ideal output
- 120 FPS
- Source-frame interval
- 16.67 ms
60 source FPS × 2 = 120 ideal output FPS; source interval 16.67 ms.
Formula and static example
Output = source FPS × ratio. Source interval = 1000 ÷ source FPS. At 60 / 4×: 240 output FPS, 16.67 ms source interval.
Assumes fixed ratio and all output delivered. Excludes overhead, dynamic ratios, dropped output and display limits. Source rate can change with generation. This is not input latency or a prediction of E-Day options.
Fixed ratios follow NVIDIA’s Streamline multiplier declaration.
Compare generation during the same kind of fight, paying attention to control feel and image stability. A larger counter alone cannot tell you whether you’ll prefer it.
Low Core Mode needs a reason
Leave Low Core Mode Off on an ordinary desktop. In Tom’s Hardware’s tests of 25 desktop CPUs with an RTX 5090 at 1080p High, every CPU performed worse with it On, including the quad-core i3-14100. The 1% lows didn’t improve either.
There was an exception: artificially reducing the i3 to two cores broke asset streaming and caused long menu freezes. Low Core Mode resolved those symptoms. That experiment doesn’t establish a benefit for the normal four-core CPU, and mobile chips and handhelds weren’t tested.
If reducing graphics workload brings little improvement, investigate the limit before sacrificing more detail. Don’t diagnose it from overall CPU utilization alone.
Give hitches their own comparison
Let the first-launch shader precompilation finish, then judge the troublesome route separately. DSOGaming observed no shader-compilation stutters in its testing but still found traversal hitches. Precompilation doesn’t settle every kind of hitch you can encounter during play.
Repeat the troublesome route when comparing a change. If the average improves but the hitch remains, record both results. Otherwise, a faster benchmark can look like a fix for a problem you still encounter in play.
The built-in benchmark omits 1% lows; use separate monitoring.
Keep the resolution, route and other settings fixed; change one choice and repeat. Our guide to comparing FPS benchmarks (opens in a new tab) helps you retain a meaningful baseline. After settling the game settings, you can make a separate comparison with Hone Game Mode (opens in a new tab), choosing which background apps to keep. Holding the graphics setup fixed makes that comparison easier to interpret.
Check the current requirements before aiming higher
You’ll need 115 GB of available storage, an SSD and a graphics card with hardware ray-tracing support. The minimum tier includes RTX 2060/5050 and RX 6600/9060, with 12 GB RAM. The recommended tier includes RTX 3060 Ti/5060 and RX 6700 XT/9060 XT, with 16 GB RAM.
The publisher’s performance targets pair Medium with 1080p 60 FPS, High with 1440p 60+ and Ultra with 4K 60+. All three use upscaling through DLSS, FSR, TSR or XeSS. These targets depend on the specified hardware; they aren’t native-resolution promises.
Choose the next adjustment around what still bothers you: insufficient performance, an image artifact, a hitch or control feel. Save the setup once you’re happy with it. Then you can spend the evening playing instead of wondering which of yesterday’s changes made the difference.
Frequently asked questions
Which E-Day preset should I start with?
Start High; try Medium if your GPU struggles. Custom profiles are separate setups.
Should I enable Low Core Mode?
Leave it Off on an ordinary desktop first. Tom’s Hardware found lower performance with it On across 25 desktop CPUs. Its two-core experiment showed an exception; mobile chips and handhelds were not tested.
Does E-Day require an SSD and ray-tracing hardware?
Yes. The current Steam requirements specify 115 GB of available storage, an SSD and a hardware ray-tracing-capable graphics card.
Does a higher generated FPS number prove better responsiveness?
No. Generated output and source rendering are different counts. Compare control feel and image stability as well as the counter; an illustrative multiplier calculation cannot predict input latency.

Written by
Digital Marketing Manager
Keep reading