Loftia Best PC Settings: Higher FPS & Smoother Gameplay
Choose Loftia PC settings for higher FPS: shadows, lighting, render scale, XeSS and frame caps, plus clearer camera movement and current Early Access lag advice.
In this article
Start with your monitor’s native resolution, Render Scale at 100, and the optional lighting and effects reduced. Turn Motion Blur off, try a 60 FPS limit if your PC can sustain it, and keep some room to restore the details you miss. Loftia’s picture deserves a better starting point than making everything blurry immediately.
Recommended Loftia PC settings
Open the Video settings and use these as a performance-focused starting setup. These recommendations use controls visible in melon_ayo’s November 5 Early Access stream (opens in a new tab); they are editorial starting points, not a benchmarked preset.
| Setting | Start here | Reason |
|---|---|---|
| Resolution | Your monitor’s native resolution | Preserve a sharp output image. |
| Render Scale | 100 with Built-in (TAA/Manual) | Keep full 3D resolution initially; reduce it later if needed. |
| Limit FPS | 60, if sustainable in busy areas | Choose a target your PC can maintain. |
| Shadows | Low | A sensible first visual compromise for a performance-focused setup. |
| Effects | Low | Reduce effects before sacrificing resolution. |
| Reflections | Low | Prioritize the overall picture over reflective detail. |
| Post Processing | Low | Try a lower effects setting before reducing render scale further. |
| Global Illumination | Off initially | Compare the lighting before deciding to keep it off. |
| Motion Blur | Off | Keep camera movement clearer. |
| Depth of Field | Off if you dislike focus blur | A picture preference rather than a promised FPS boost. |
| Field of View | 90 on a desktop monitor | Follow the game’s desktop starting recommendation. |
| VSync | Use it if tearing bothers you | A display choice, with no universal FPS benefit. |
You don’t have to lower every remaining quality row because it exists. Get this baseline running first, then decide whether your PC needs a more aggressive compromise.
Spend visual quality where you’ll notice it
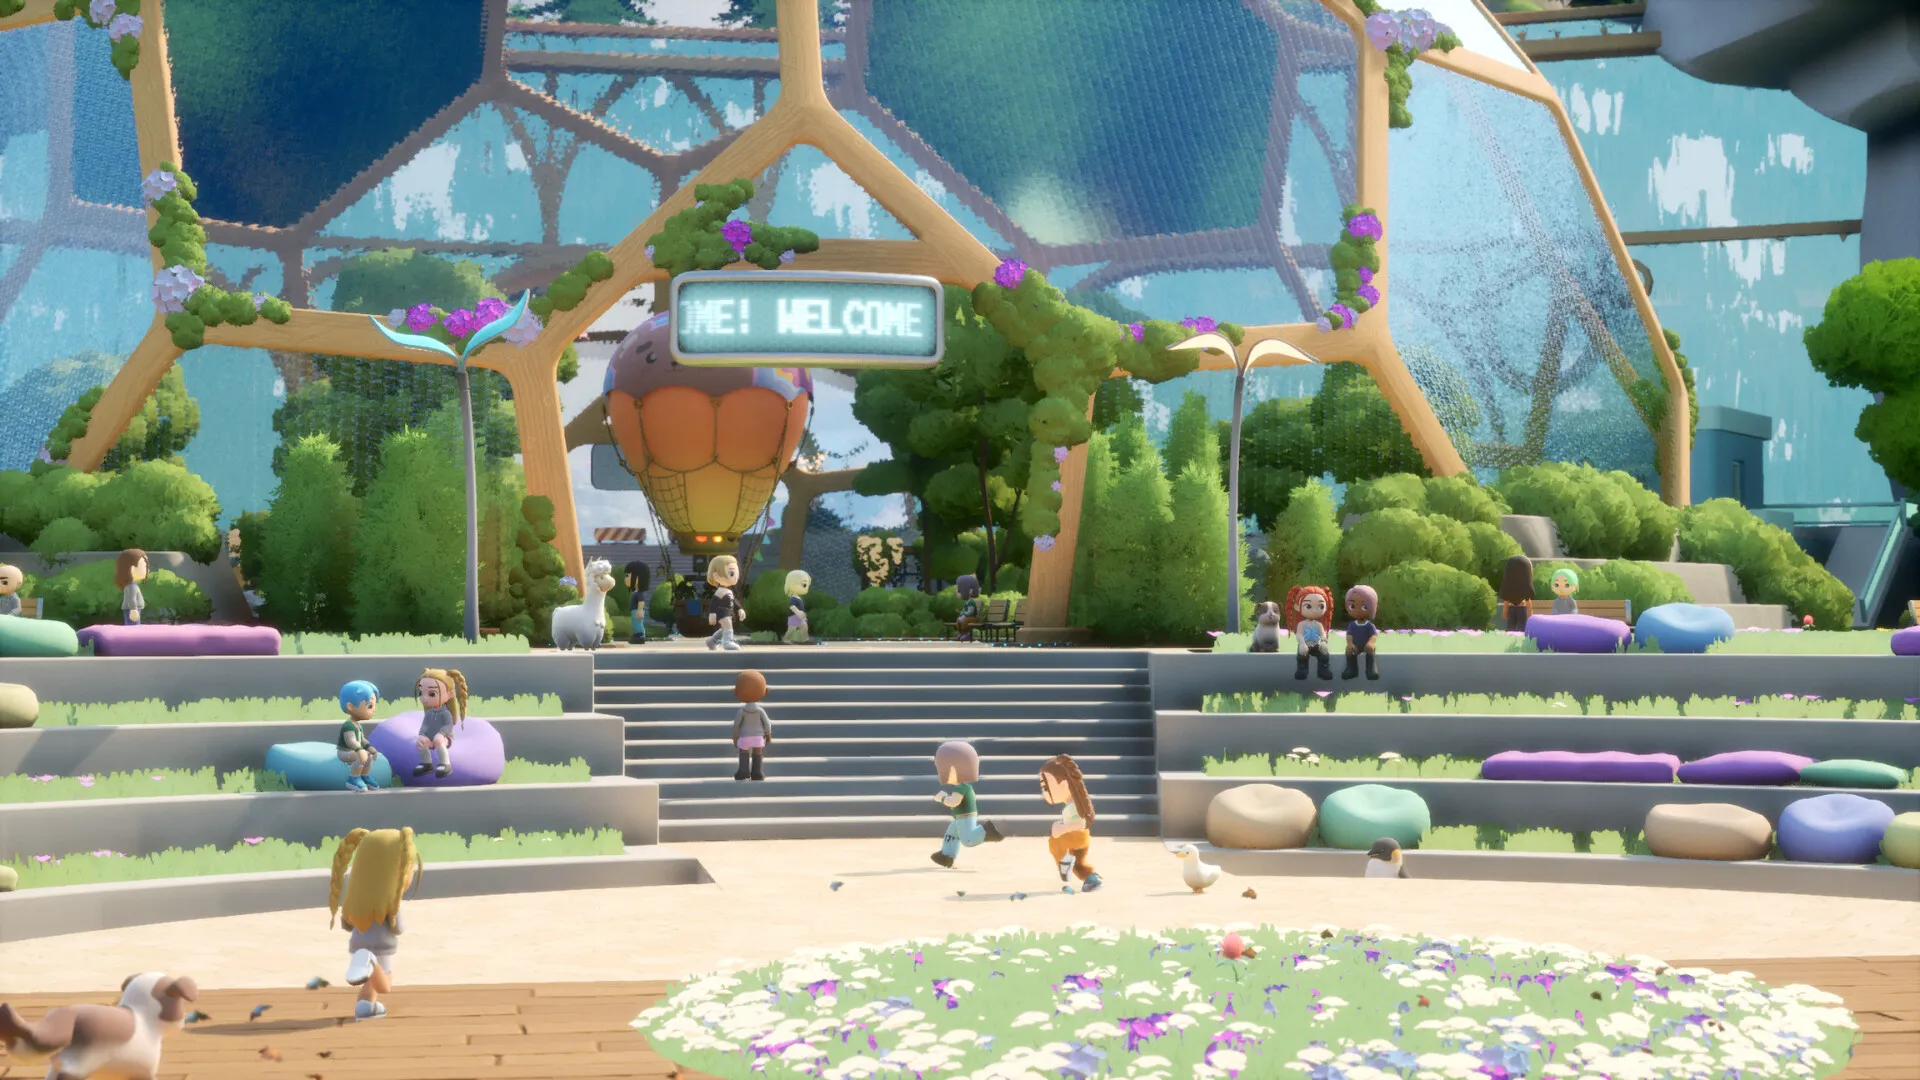
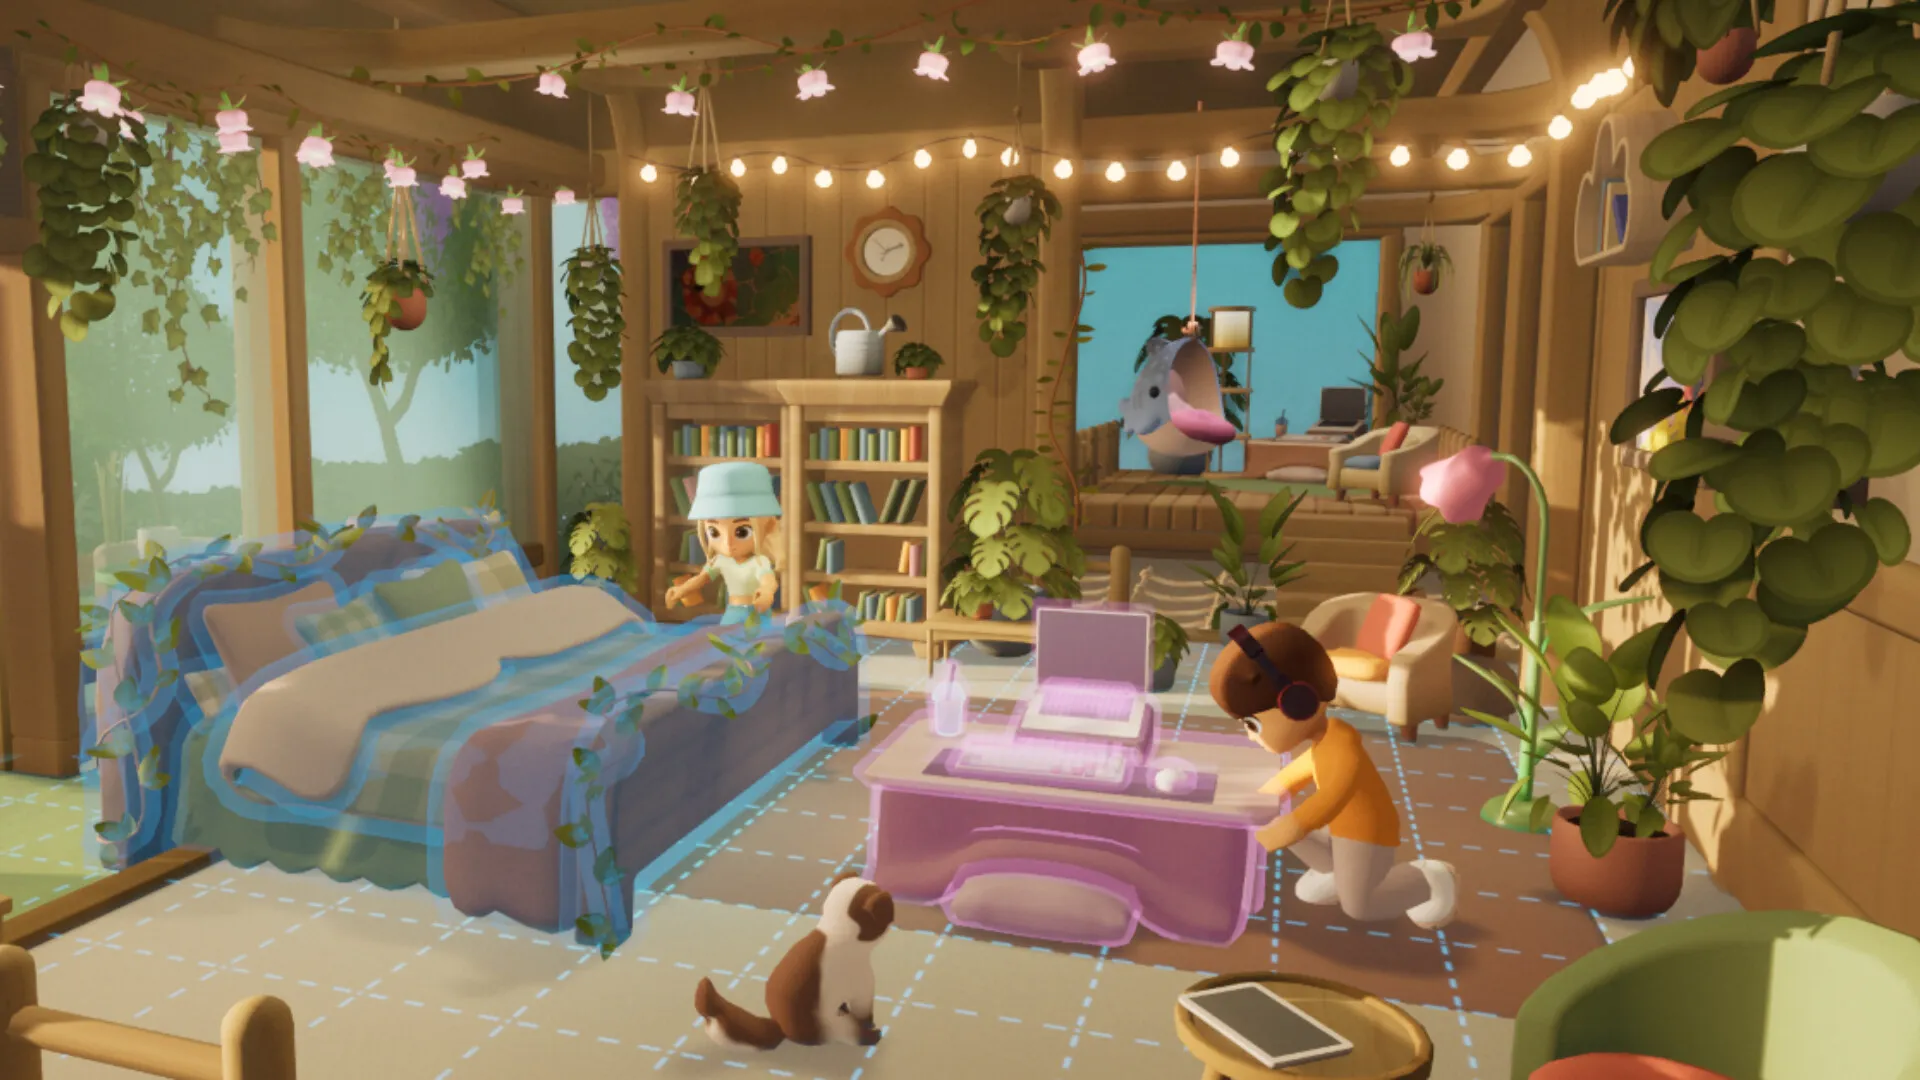
The important choice is how much of Loftia’s lighting you’re willing to give up to keep its world sharp. Start with Global Illumination off, but revisit it once your frame rate is comfortable. Lighting changes can alter the atmosphere of an entire scene; that deserves more consideration than a blanket instruction to leave every option at its lowest value.
Global Illumination has a separate toggle. Its quality control becomes disabled when the feature is off, so a greyed-out High value doesn’t mean you still need to lower it. Use the toggle, then judge the resulting picture.
Shadows, Effects and Reflections at Low are useful compromises to try before shrinking the 3D image. Reducing particular visual details leaves you a chance to preserve full rendering resolution. If the baseline is comfortably fast, restore the detail you care about most, one setting at a time.
Post Processing is another place to try Low before reducing resolution further. Keep Motion Blur as a separate decision: Off is our recommendation for clearer camera movement, regardless of whether it changes the frame rate. Depth of Field can also go off if focus blur gets in the way of the picture you want.
Set Field of View for your screen
Field of View describes the horizontal angle of the world shown by the camera. A wider angle fits more of the surroundings into the picture; a narrower angle shows a smaller slice. Treat this as a framing and comfort choice rather than chasing the largest number.
Loftia’s tooltip recommends 90 for a close-viewed desktop monitor, 80 for a handheld and 60 for a console viewed from farther away. Start at 90 on a desktop, then adjust for your viewing distance and comfort. Those different starting points are a useful reminder that a handheld recommendation needn’t suit the monitor on your desk. None is a universal remedy for motion sickness or a measured FPS improvement.
What does a wider field of view include?
Move from 60° to 90° to widen the orange viewing angle. The moving diamond is highlighted when it falls inside that angle.
Motion running. Angle changes keep the camera position fixed.
Loftia’s tooltip starting points: 90° for a close-viewed desktop monitor, 80° for a handheld, and 60° for a console viewed farther away. Choose for your screen and viewing distance.
Reduce Render Scale only when you need the extra compromise
Keep the output resolution matched to your monitor. In the Built-in (TAA/Manual) path, Render Scale controls the percentage of that resolution used to render the 3D scene. Starting at 100 preserves full resolution; if gameplay is still too slow, try 90, then 80.
Lowering both dimensions reduces the number of pixels substantially. At 80% scale, the 3D image contains 64% as many pixels as native resolution. That arithmetic explains the size of the compromise; it doesn’t predict a 36% performance improvement. Other work still takes time, and a PC held back elsewhere may gain little from rendering fewer pixels.
Watch moving foliage and your character’s edges when judging a lower scale. A setting that looks acceptable while standing still can be less appealing once the camera moves. Stop at the highest scale that gives you acceptable gameplay rather than jumping straight to the lowest value.
Qloud has confirmed XeSS integration (opens in a new tab). If your installed build offers XeSS upscaling, begin with its highest image-quality upscale mode and move down only if needed. The manual Render Scale recommendations above apply to Built-in (TAA/Manual).
Frame Generation is a separate row whose availability depends on hardware. A disabled Off option doesn’t establish which technology or GPUs the game supports, so it shouldn’t be part of a universal settings recipe.
Choose an FPS limit your PC can hold
Use Limit FPS at 60 as a starting target when your PC can sustain it in busier areas. A high peak in a quiet home doesn’t tell you what the city will feel like. If a laptop struggles well below that target, choose a lower ceiling it can maintain.
A cap can restrain the faster moments. It cannot turn a scene running below your target into a faster one. Lower the rendering workload first when the game is consistently too slow, then choose the ceiling around the performance you can sustain.
NVIDIA users who need a driver option can use Control Panel → Manage 3D Settings → Program Settings → Max Frame Rate for Loftia. VSync addresses tearing; there isn’t one correct On or Off recommendation for every display setup.
For a quick comparison, walk a short route in Loftia City and visit a quieter home area after changing one setting. Keep the route similar so moving somewhere less demanding doesn’t masquerade as a successful adjustment. Our guide to comparing FPS benchmarks (opens in a new tab) explains that distinction in more detail.
The Video menu also has a Benchmark button beside Apply. Try it for an initial comparison if it runs on your system, then judge actual city gameplay too. We haven’t inspected its output or established how closely its workload represents a busy area.
Recognize problems graphics settings won’t solve
The developer’s current known-issues list (opens in a new tab) identifies friends-list lag for players with more than 100 friends. If the slowdown is concentrated in that menu, lowering Reflections isn’t a targeted response.
Long loading, travel timeouts or crashes from a slow external drive are a different problem again. Qloud recommends moving the installation to a responsive internal drive in that situation. This is a loading and stability action, with no promised increase in gameplay FPS. The warning concerns slow external storage, rather than every external SSD.
On a Windows 11 laptop with multiple GPUs, assign Loftia the High performance GPU under Settings → System → Display → Graphics, then restart the game. That step matters when the game is using the less suitable GPU; it isn’t an extra boost for every laptop.
If you’re adjusting these settings with a controller, use the D-pad. The current notice says thumbstick navigation in settings isn’t supported.
Frequently asked questions
What are the best Loftia PC settings to start with?
Start at native output resolution and Render Scale 100. Try Shadows, Effects, Reflections and Post Processing at Low, Global Illumination off, and a 60 FPS limit if sustainable. These are starting recommendations, not a benchmarked preset.
How do I make Loftia less blurry?
Start with native output resolution and Render Scale 100 in Built-in (TAA/Manual). Turn Motion Blur off, and disable Depth of Field if you dislike focus blur. Lower render scale only when you need the performance compromise.
Does Loftia support XeSS or frame generation?
Qloud has confirmed XeSS integration. Choose from the options offered by your installed build. The Frame Generation row is hardware-dependent; the inspected menu showed it disabled, so it does not establish supported technologies or GPUs.
What Field of View should I use for Loftia?
The game recommends 90 for a close-viewed desktop monitor, 80 for a handheld, and 60 for a distant console screen. Start at 90 on desktop and adjust for comfort.
Will lowering Loftia graphics fix every type of lag?
No. The developer lists friends-list lag for players with more than 100 friends and loading or stability trouble on slow external drives. Those require different attention from rendering performance.

Written by
Digital Marketing Manager
Keep reading