Once Human Best PC Settings for Isles of Abyss
Optimize Once Human for Isles of Abyss with PC graphics starting settings, current camera controls, and practical checks for FPS drops and uneven motion.
In this article
Start Isles of Abyss at Middle graphics, with Shade Low, VFX Middle and Vegetation Density Low. Keep your monitor’s native output resolution, leave Render Scale at 100 initially, and turn off Motion Blur if you prefer a clearer picture while moving. That’s a useful first setup before sacrificing the entire scene to a Very Low preset.
Isles of Abyss puts islands, a movable ship territory and underwater exploration into the same trip. A setting that looks fine beside the shore still has to suit the deck you return to and the ruins you dive into. I’d keep the detail you enjoy whenever your performance target already holds, then spend the compromises where you actually need them.
Once Human PC settings to start with
The table uses controls shown in earlier PC footage, including a September upload whose recording build isn’t known. Match the labels available in your installed client. These are reversible starting recommendations, not a benchmarked Isles of Abyss preset.
| Setting | Starting choice | How to use it |
|---|---|---|
| Output resolution | Your display’s native resolution | Establish a clear output before changing reconstruction or render scale. |
| Render Scale | 100 initially | Treat this separately from any active upscaling mode. |
| Graphics preset | Middle | Use it as the base, then make the individual changes below. |
| Shade | Low | A starting compromise on shadow detail. |
| VFX | Middle | Keep some effects detail before trying a lower setting. |
| Vegetation Density | Low | Begin with less vegetation density; raise it if you miss the fuller scene and your target holds. |
| Texture Quality | High if it suits your GPU memory | Step down if High is unsuitable for your hardware. |
| Motion Blur | Disabled, if preferred | A clarity choice for moving views. |
| Screen Shake Intensity | Reduce to taste | Keep deliberate camera effects only as strong as you want them. |
| Max Frame Rate | A target you can sustain | Choose after playing the expedition route below. |
Apply the preset first, then the individual options. Otherwise a later preset change can undo the setup you meant to keep. Leave settings outside this shortlist at the preset’s defaults to begin with; changing everything immediately makes a disappointing result much harder to untangle.
Keep the picture worth exploring
Middle is a sensible place to begin because it leaves room in both directions. If it already holds your chosen target, raise the detail you care about. If it falls short, you have a defined starting point for reducing individual options. A survival scenario with islands and underwater ruins gives you plenty to look at, and keeping an attractive picture is a legitimate priority.
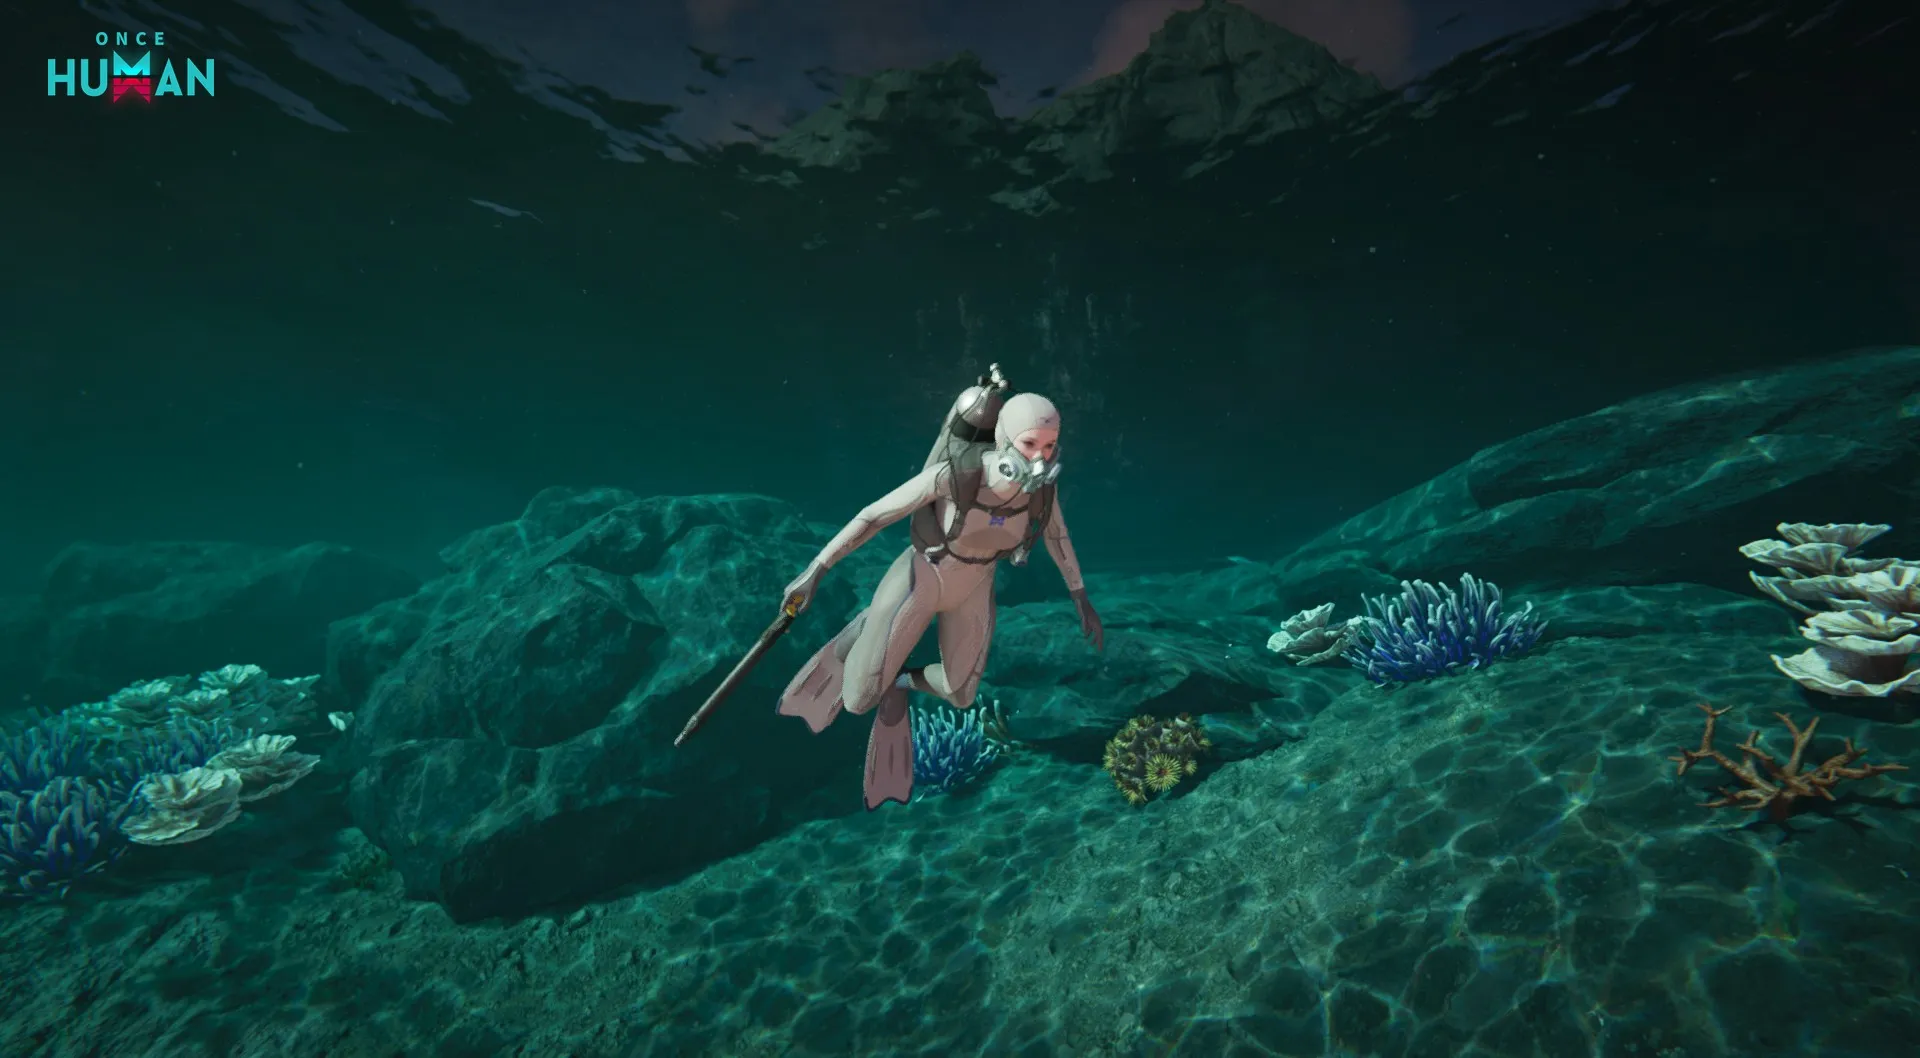
The older PC menu calls its shadow setting Shade; its tooltip identifies it as the overall shadow level. Low is the compromise I’d try early. VFX Middle is less aggressive: it keeps a middle setting for effects rather than beginning with every visual option at its minimum. Neither choice has a measured current-build saving attached to it.
Textures deserve their own decision. Keep High where your GPU memory allows it, rather than lowering it simply because another option is Low. If High is a poor fit, step down. A texture change alone also doesn’t identify the cause of a hitch, so avoid treating every brief pause as proof that you ran out of video memory.
Be careful with promises about Draw Distance. The historical PC tooltip explicitly says that it doesn’t apply to other players. That gives an old recommendation to lower it a narrower meaning than “make everything farther away disappear.” Follow the current tooltip and decide whether the scenery change is acceptable before keeping it.
Motion Blur is easier: disable it if you dislike the effect. Lower Screen Shake Intensity if extra camera movement makes exploration or aiming harder to follow. Those preferences can make the picture more comfortable without an FPS claim attached.
Performance Boost, DLSS and your renderer
A launch-era guide can miss features available to a returning player. The publisher’s PC update notes announce Intel XeSS 3.0 and Frame Generation under Settings → Graphics → Performance → Performance Boost. Use the features your installed client and GPU actually offer. The announcement doesn’t supply a complete GPU compatibility table or a measured Isles gain. Open the official Performance Boost announcement (opens in a new tab) if an option you expect is missing.
Keep output resolution, render scale and reconstruction distinct. An output of 2560 × 1440 describes the image sent to the display. Render Scale at 100 is a useful initial slider position, but 100 alone doesn’t establish native internal rendering when another reconstruction mode is active. Read the active Performance Boost option too.
Choose the reconstruction mode by the moving picture: look at fine scenery detail and edges as you turn, rather than deciding from a stationary menu backdrop. Keep a mode when the extra performance is useful and its picture is acceptable to you. There isn’t a supported reason here to force everyone onto the most aggressive option.
You also don’t need to switch to DirectX 12 solely because an old guide says DLSS requires it. An official May 2025 patch added DLSS in DirectX 11 on NVIDIA 20-series or newer cards. That patch gave DLSS Frame Generation its own DirectX 12 and 40-series conditions. Those historical conditions aren’t a compatibility chart for every newer feature. The publisher’s regional patch note (opens in a new tab) documents the distinction.
Judge the underlying game before turning on Frame Generation. Generated presentation frames can change the displayed motion without becoming new game-rendered frames. Establish how the game responds with it off, then try it on the same route if available. A larger FPS number alone doesn’t show that a recurring hitch has gone away or that your inputs feel better.
Revisit camera and aim controls after the update
Version 3.1.1 changed more than the scenery. First Person OTS arrived, the existing First Person Aim key settings moved into the Aim category, and the description of First-Person Camera Field of View (FOV) was rephrased. If you’re hunting for a familiar option, start with the new grouping and read the current explanation before copying an old number.
For a PC controller, begin with the new Sensitivity Presets. Once one is close to the stick feel you want, expand the detailed settings using the + / − beside them. Sensitivity, camera coefficients and vibration settings now sit in collapsible menus, so the first screen doesn’t show every adjustment. These changes are documented in the official 3.1.1 notes (opens in a new tab).
Set the camera for comfortable viewing and aiming. FOV and sensitivity aren’t rewards to maximize, and a copied controller value won’t account for your own preference. Get the camera settled before judging graphics changes: otherwise a different view or turning speed can distract from the setting you meant to evaluate.
3.1.1 control chart
Find your bearings in the new controls
Look in the Aim category
Version 3.1.1 moved the existing First Person Aim key settings into Aim. Start with that grouping when an old guide points somewhere else.
Read the current FOV description
First Person OTS arrived in 3.1.1, and the description of First-Person Camera Field of View (FOV) was rephrased. Choose a comfortable view; no numerical FOV recommendation is supplied here.
Start with Sensitivity Presets
Choose a preset close to your preference, then use + / − to expand the detailed settings. Sensitivity, camera coefficients and vibration settings sit in collapsible menus. A copied number does not establish the right stick feel for you.
Control and comfort guidance. These are supported labels and actions, not complete menu breadcrumbs or FPS tweaks.
Choose a frame cap on an actual expedition
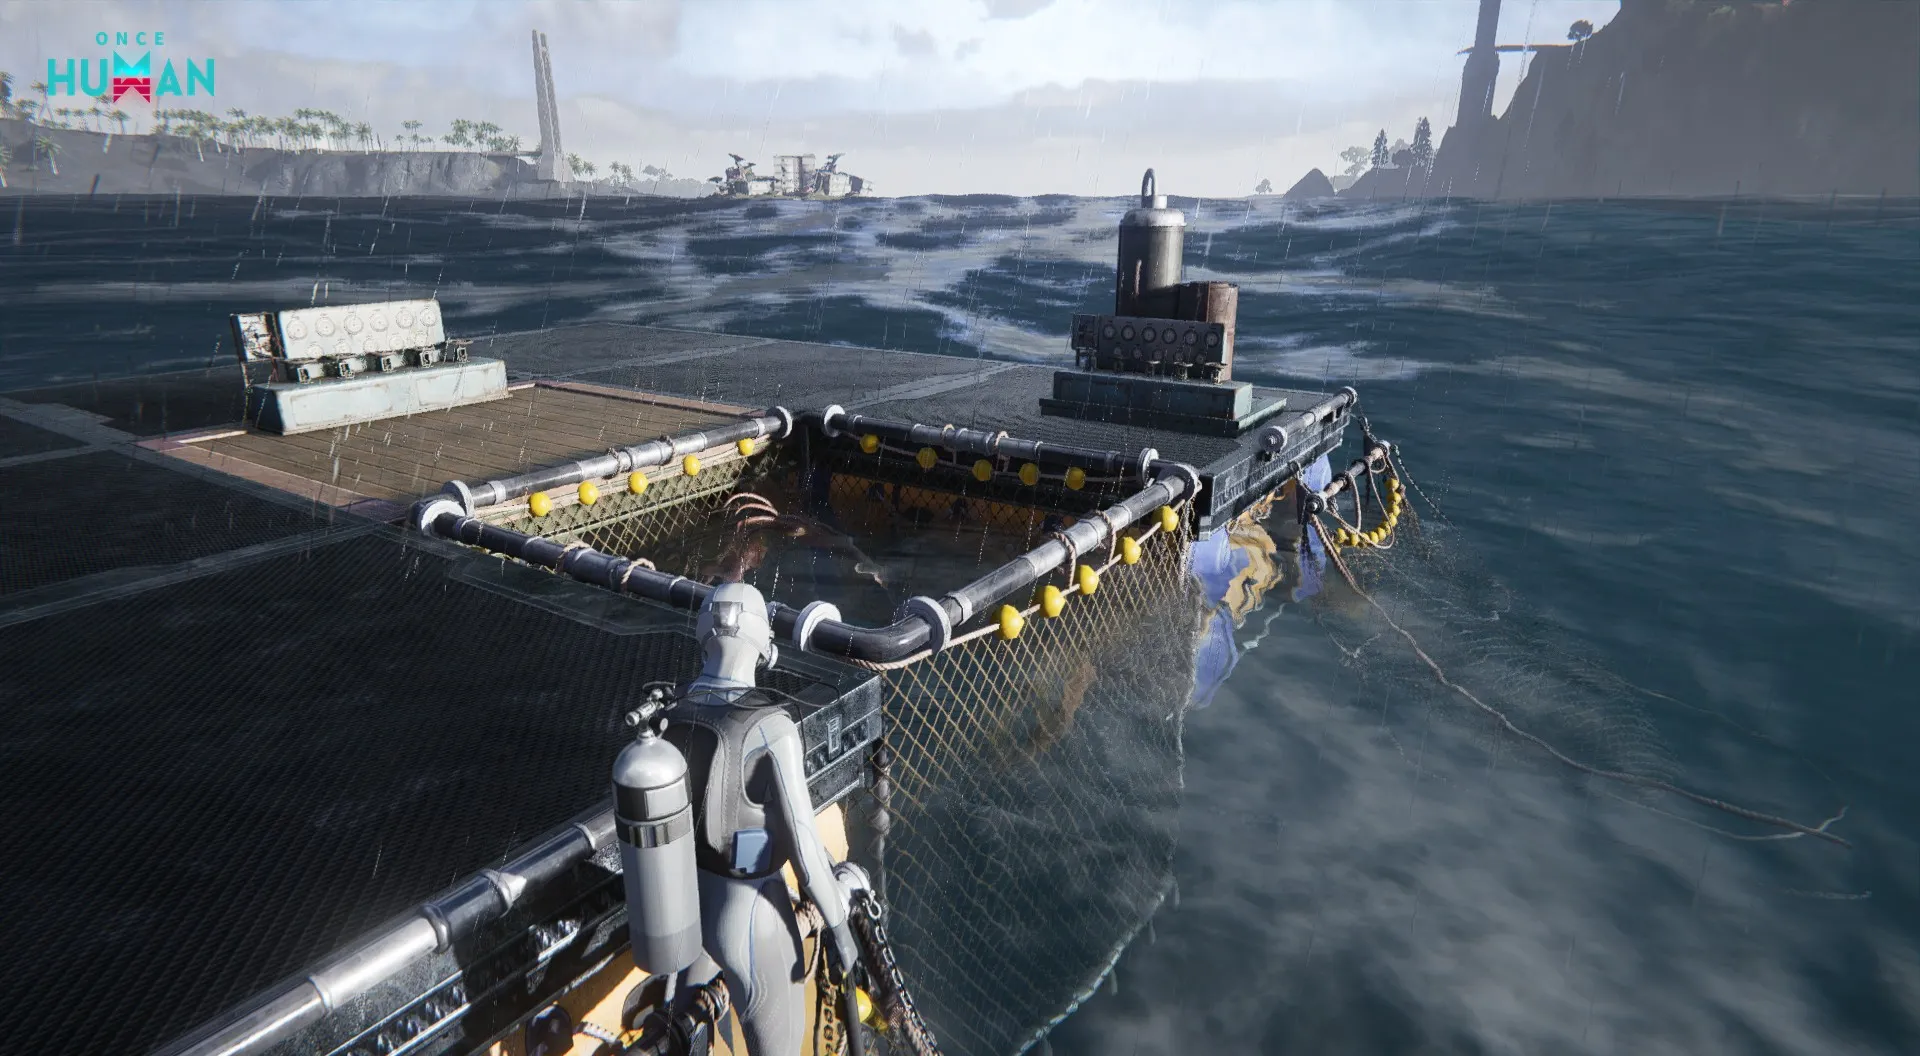
Use a journey with an island approach, a moving ship or developed deck, and an underwater scene. These are different parts of the scenario to sample, not a ranking of which scene costs the most to render. A quiet view of open water is too narrow a basis for keeping the whole setup.
If you need a readout, our guide to showing FPS in Steam games (opens in a new tab) covers that step. Return to the same places with one setting changed, keeping the camera, renderer and Frame Generation state consistent. Weather and activity can change between visits; repeat an apparent improvement before deciding it was the setting. Our FPS comparison guide (opens in a new tab) explains the limits of that comparison in more detail.
Then choose a cap the expedition can sustain, using a value the client offers. A peak reached while standing still is a poor target for the journey back. If the frame rate spends much of the route below your cap, lower the target or revisit the picture compromises rather than treating the cap itself as a repair.
At perfectly even spacing, 60 FPS means a frame every 16.67 ms, 90 means 11.11 ms, and 120 means 8.33 ms. Those are mathematical examples, not a list of Once Human cap options or total input latency. They’re useful because they show what an FPS target asks the game to maintain.
Averages can hide a rough result. As a synthetic example, five 10 ms intervals followed by one 50 ms interval occupy 100 ms in total: six frames in that window, equivalent to 60 FPS. The long wait is still there. When a higher average comes with the same obvious pauses, keep investigating the pauses rather than declaring the setup finished.
Your expedition notebook
Did that change help the whole trip?
Enter your recorded average FPS with Frame Generation off. Keep the route, camera and renderer consistent. This tool reads no game data and saves nothing.
FPS entries: finite numbers from 1 to 1000, decimals allowed. The target is your comparison goal, not a recommended game-menu cap.
Fictional example loaded. Every value here remains example data, including edits, until you clear the notebook.
01Island approach
Enter both observations to compare this scene.
02Ship / deck
Enter both observations to compare this scene.
03Underwater
Enter both observations to compare this scene.
Bars share a scale based on the largest valid FPS entry; no values entered.
Your notebook is empty.
Select summary is always available for manual copying.
Make two columns in your notes: A before the change and B after. Record average FPS for the same island approach, ship/deck and underwater scene. Note the one setting changed and repeat the trip before keeping it.
For each pair, subtract A from B for the FPS difference. Divide 1000 by each FPS value for its ideal evenly spaced frame interval: 60 FPS → 16.67 ms, 90 → 11.11 ms, 120 → 8.33 ms.
Without JavaScript, use this method in your own notes; no on-page calculation is available.
An average meeting your target does not establish sustained delivery, 1% lows or responsiveness. The ideal interval is arithmetic, not measured frame times or input latency. Differences do not identify a cause or predict future FPS.
Ship rollback and stuck boats need a different check
If your character snaps back while moving on a sailing ship, look at the current patch status before another round of graphics reductions. The publisher’s October 23 fixes (opens in a new tab) address character lag or position rollback on moving ships, as well as a separate stuck-ship and wrong-teleport issue.
The October 26 fixes (opens in a new tab) also address ships lifting off and becoming stuck, with abnormal ships reset to their normal position. These are publisher-reported gameplay fixes. They don’t establish an FPS increase, a graphics-setting cure, or a guarantee that every similar symptom has disappeared.
Update first, then describe the remaining symptom precisely. A camera view that pauses, a character that returns to an earlier position, and a ship stuck in the air are different observations. Calling all of them “low FPS” makes it harder to work out which problem you’re still seeing.
For a returning installation, also check the storage baseline: the current Steam requirements (opens in a new tab) list 100 GB of space and strongly recommend an SSD. That isn’t a promise of a particular frame rate, but it’s the current requirement to work from when an older guide gives a smaller figure.
Frequently asked questions
What are the best Once Human PC settings for Isles of Abyss?
Start with Middle graphics, Shade Low, VFX Middle and Vegetation Density Low. Keep native output resolution and Render Scale at 100 initially, disable unwanted Motion Blur, and keep Texture Quality High only if it suits your GPU memory. These are editorial starting choices using historical PC controls; match the options in your installed client and judge them on an expedition.
Does Once Human DLSS require DirectX 12?
DLSS does not universally require DirectX 12 in Once Human. An official May 2025 patch added DLSS under DirectX 11 for NVIDIA 20-series or newer cards. That historical patch listed separate DirectX 12 and 40-series requirements for DLSS Frame Generation. Use the options offered by your current client and GPU.
Can lowering graphics fix position rollback on a moving ship?
A graphics reduction is not an established fix for ship position rollback. The publisher reported a moving-ship lag or position-rollback fix on October 23 and a fix for ships lifting off and getting stuck on October 26. Update before comparing an old report with your current symptoms; those notes do not establish an FPS gain or guarantee every ship problem is resolved.
Should I use Frame Generation in Once Human?
First judge the game with Frame Generation off. If your current GPU and client offer it, then compare the same route with it enabled, looking at motion, artifacts and responsiveness. Generated presentation frames are separate from new game-rendered frames, so the higher displayed count alone does not prove a hitch or response problem is fixed.

Written by
Digital Marketing Manager
Keep reading