More FPS is great, but smoothness is what wins fights. In 2025 the real goal is stable frame times, strong 1% lows, and low end‑to‑end latency. This guide gives you a clean, battle‑tested path to higher average FPS with fewer stutters and faster input‑to‑pixel response.
We will tune Windows, update and configure GPU drivers, flip the right BIOS switches, set smart in‑game options, and keep your system cool and clean. Everything is organized into quick wins first, then deeper optimizations. Interactive cards and checklists help you track progress as you go.
Estimated FPS Gains From a Full Tune
Illustrative example on a mid‑range PC at 1080p. Your results will vary by game and hardware.
Quick Wins: 10‑Minute FPS Tune‑Up
Apply these first for instant gains
powercfg -duplicatescheme e9a42b02-d5df-448d-aa00-03f14749eb61 in an elevated terminal, then select it in Power Options.Windows Settings That Actually Affect FPS
🎯 Prioritize Gaming Workloads
- ✓Game Mode On, Focus Assist On while playing
- ✓Power mode: Best performance or Ultimate Performance plan
- ✓Hardware‑accelerated GPU scheduling On
- ✓Maximize display refresh rate in Advanced display
- ✓Disable Enhance pointer precision for consistent aim
🧹 Reduce Background Load
- ✓Task Manager → Startup apps → disable non‑essential entries
- ✓Close browsers and overlays before launching a game
- ✓Settings → Storage → Temporary files → regular cleanup
- ✓Keep 15 to 20 percent free space on game SSD
🔒 Optional Advanced
- ✓Ultimate Performance: enable via
powercfgcommand - ✗Only if you accept risk: turn off Memory Integrity and VBS
- ✓Disable CSM and use UEFI boot for modern GPUs
GPU Drivers: Install Clean and Configure Smart
NVIDIA Control Panel
- ✓Power management mode: Prefer maximum performance
- ✓Low Latency Mode: On or Ultra (use in‑game Reflex if available)
- ✓Max Frame Rate: cap 3 to 4 FPS below refresh, example 141 on 144 Hz
- ✓G‑SYNC enabled for full screen. V‑Sync On in control panel and Off in game
- ✓Scaling performed on Display not GPU
AMD Software: Adrenalin Edition
- ✓Radeon Anti‑Lag: Enabled for responsiveness
- ✓Radeon Chill: set Min=Max to act as a precise FPS cap
- ✓Enhanced Sync: low‑lag tear control for non‑FreeSync displays
- ✓Radeon Image Sharpening: counters TAA blur at low cost
- ✓Gaming → Graphics → Advanced → Reset Shader Cache if hitching
Intel Arc Control
- ✓Keep drivers current using Intel Driver & Support Assistant
- ✓Use per‑game profiles and a global FPS limiter set a few FPS under refresh
- ✓Enable XeSS in supported games for big FPS gains with high image quality
- ✓Verify Resizable BAR is enabled at the platform level
BIOS and Firmware: Unlock Hidden Performance
Enable XMP or EXPO for RAM
Turn on Resizable BAR
Thermals first, overclock later
In‑Game Settings That Move the FPS Needle
These options are ordered by typical impact on performance. Use a frame cap that fits your display and goal, for example 141 on 144 Hz with G‑SYNC or FreeSync.
| Setting | What it does | Typical FPS impact | Smart recommendation |
|---|---|---|---|
| Resolution / Render Scale | Pixels rendered per frame | Very high | Use DLSS, FSR, or XeSS Quality or Balanced for big gains with strong clarity |
| Shadows | Dynamic shadow quality and distance | High | Drop Ultra to High or Medium. Keep contact shadows if offered |
| Ray Tracing | Physically accurate lighting and reflections | Very high | Disable for competitive play. Use only with strong upscaling |
| Reflections / SSR | Reflective surfaces quality | High | Medium or Off in fast shooters. High in single‑player if you prefer visuals |
| Volumetrics | Fog, clouds, god rays | High | High to Medium. Lower in weather‑heavy titles |
| Anti‑Aliasing | Edge smoothing | Medium | Use TAA or SMAA. Avoid SSAA. Pair with sharpening |
| Ambient Occlusion | Contact shadow depth | Medium | SSAO Medium. Turn off for pure performance |
| Texture Quality | Texture resolution | Low when VRAM fits | Match to VRAM. If stuttering, lower to fit in VRAM |
| Anisotropic Filtering | Sharpness at angles | Very low | Set 16x almost always |
| Post‑processing | Motion blur, film grain, chromatic aberration | Low | Disable for clarity in competitive games |
One‑Click Presets You Can Copy
- • Upscaler: Performance or Balanced
- • Shadows: Low
- • Reflections, RT, Volumetrics: Off
- • AA: TAA Low or SMAA
- • AF: 16x free FPS
- • Frame cap: 3 below refresh
- • Upscaler: Quality
- • Shadows: Medium
- • Volumetrics: Medium
- • Reflections: Medium
- • AA: TAA + Sharpening
- • Cap near 141 on 144 Hz
- • Upscaler: Quality with RT Off or Low
- • Shadows: High
- • Volumetrics: High
- • AO: High
- • AF: 16x
- • Optional cap at display refresh
Bottleneck Detective: Find the Real Limiter
Symptoms: Low FPS that does not rise when lowering graphics
Symptoms: Stutters despite high average FPS
Symptoms: FPS improves a lot when lowering resolution
Performance Tools You Should Use
Measure before and after so you know what worked. Capture average FPS, 1% lows, and frame time graphs.
Download from Hone.ggAlso useful: MSI Afterburner + RivaTuner, OCAT, NVIDIA FrameView. Use DDU only for troubleshooting.
Printable Checklist
Maintenance: Keep FPS High Over Time
🧽 Digital Hygiene
- ✓Close overlays and background apps before playing
- ✓Clean temp files monthly and keep SSD space free
- ✓Update GPU drivers for new game launches
- ✓Rebuild shaders if the game offers it after big updates
🌬️ Physical Care
- ✓Dust filters and fans every 3 to 6 months
- ✓Hold fan blades still while using compressed air
- ✓Replace thermal paste on older systems that run hot
🎯 Frame Capping Strategy
- ✓Cap 3 to 4 FPS under refresh for VRR smoothness
- ✓Use in‑game cap when it is high quality, otherwise driver cap
- ✓Prefer Reflex, Anti‑Lag, or similar native options when present
Advanced Commands and Paths
powercfg -duplicatescheme e9a42b02-d5df-448d-aa00-03f14749eb61Flush DNS cache after major network changes:
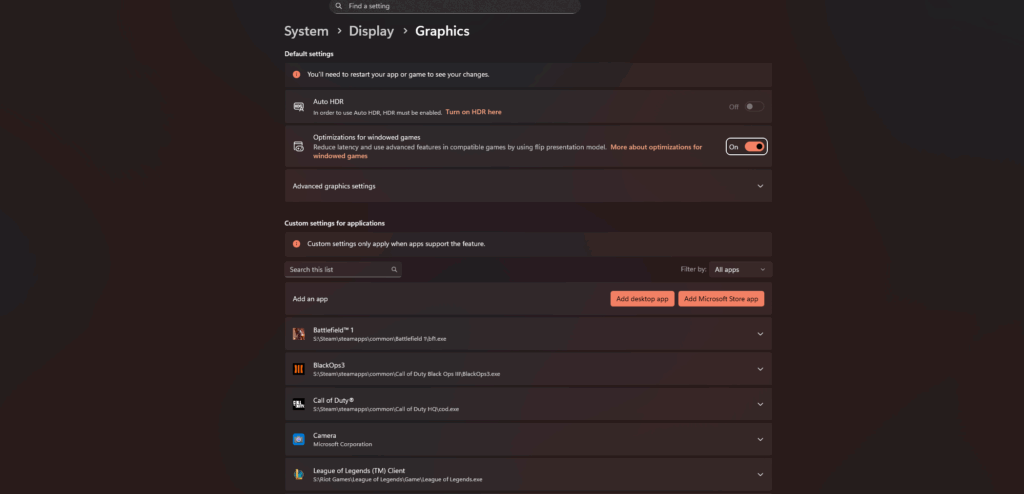
ipconfig /flushdnsReset Windows graphics settings list: Settings → System → Display → Graphics → Default graphics settings
The Bottom Line
There is no single switch that doubles FPS. Real gains come from stacking wins: a tuned Windows base, clean and current GPU drivers, the right control‑panel overrides, smart in‑game settings, and healthy thermals. Measure with a proper tool, cap your frame rate just under refresh, and focus on improving 1% lows. You will feel the difference every match.
Frequently Asked Questions
Will these tweaks lower my input latency?
Yes. Power plan changes reduce CPU ramp time, driver settings like Reflex or Anti‑Lag reduce the render queue, and a smart frame cap keeps you inside the VRR window. Combined they shorten input‑to‑pixel delay.
Is it safe to disable VBS or Memory Integrity?
It can increase FPS on some systems but reduces security. If you use your PC for banking or work, leave them on. Consider a separate Windows profile for gaming if you want maximum performance with fewer background protections.
Should I overclock my CPU or GPU for gaming?
Only after you have optimized thermals and applied the settings in this guide. A mild GPU undervolt often provides steadier clocks and lower noise. Overclocking is optional and should be done in small steps with stress tests.
How do I check 1% and 0.1% lows?
Use CapFrameX, OCAT, or FrameView. Run a repeatable in‑game scene or built‑in benchmark, then compare averages and lows before and after each change. Focus on improving lows for real smoothness.
What frame cap is best?
Cap 3 to 4 FPS below your monitor refresh when using G‑SYNC or FreeSync. On a 144 Hz display, 141 is a solid starting point. This keeps you inside the VRR range and avoids sudden V‑Sync engagement at the limit.
Why did my FPS drop after a big update?
Shader caches often need rebuilding and background services may have re‑enabled. Update drivers, clear shader cache, redo startup optimizations, and verify your game kept the correct graphics preset.