

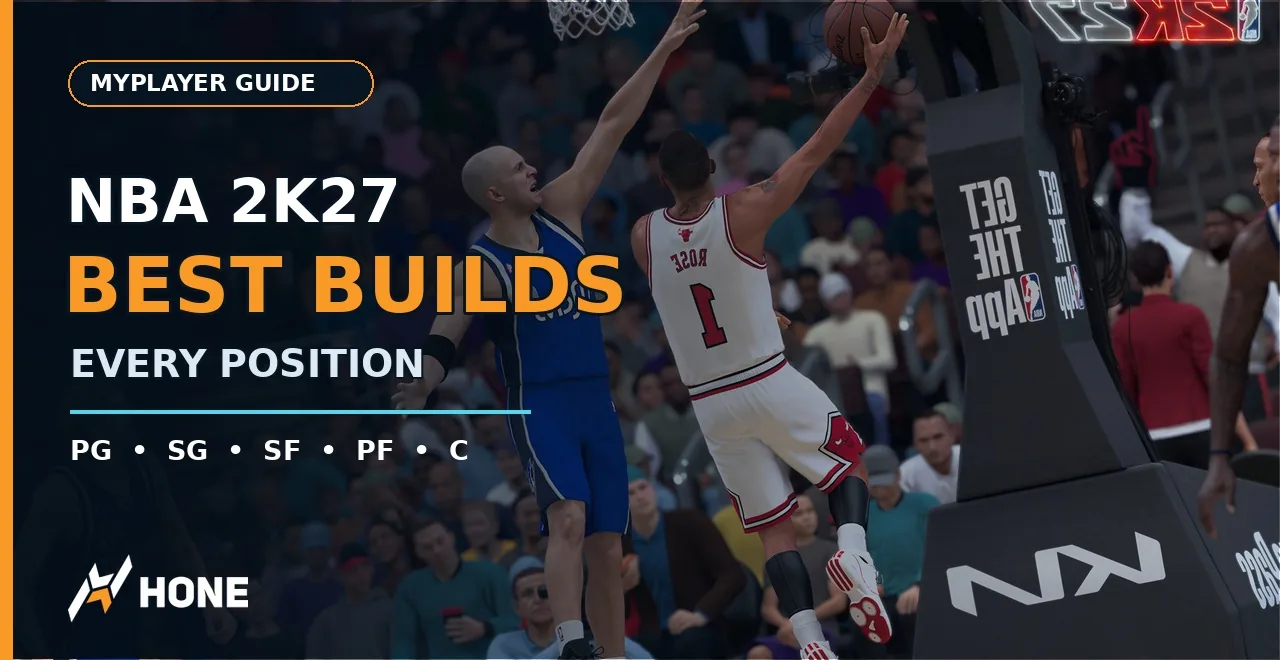
The best NBA 2K27 build is the one that covers your actual job: create and pass, shoot and defend, fill wing duties, space and help, or rebound and outlet. Pick your mode and squad role before allocating attributes. These are role frameworks, not tested meta exports; use the current Builder to check body-dependent badge costs and animation eligibility before spending Virtual Currency (VC).
Planning a Build on PC?
Explore Hone for your PC setup. Your build, badge choices and shot timing still need testing in NBA 2K27.
Download HoneChoose your mode before your position
For solo Rec, I’d start with the wing or off-ball shooting role if your favorite possessions are catches, quick passes and defensive stops. If you want to organize every attack, choose the creator instead and keep passing in the budget. Pick the job you enjoy doing repeatedly; a position label will not make teammates hand you the ball.
Solo Rec
Build for possessions when the ball is elsewhere: spacing, a quick connecting pass, your defensive assignment and rebound help. Keep secondary creation if you expect to rescue stalled possessions.
Organized Rec / five-player squad
Agree who creates, screens, protects the rim and collects rebounds. You can narrow your role when teammates deliberately cover the jobs you sacrifice.
Park / small lineup
Cover more court with fewer teammates. If you are the only big, rim defense and finishing the rebound remain your jobs even when you also space the floor.
MyCAREER focus
Choose the actions you want to repeat in your career, then practice those shots, passes and finishes. If you also play online, leave room for that lineup’s responsibilities.
For an organized squad, ask which job nobody else covers. Two primary creators can leave a perimeter matchup or the glass unattended. A role that fills that gap is a better starting point than another impressive-looking allocation that duplicates a teammate.
October update: check your platform
NBA 2K27 v2.0 is dated October 8, 2026 for PlayStation 5 and Xbox Series X|S, and October 16 for PC and Nintendo Switch 2. The update adjusts shot contests, passing and catching, steal penalties, and several Takeovers. PC players should not copy a console’s post-update verdict as if their version already plays identically. Check your platform’s update before committing VC to a new build.
Keep your squad role in view while adjusting to the update. Changes to passing and contests can affect how you play that role, but the patch notes do not supply a complete attribute recipe. Recheck the costs, animation requirements and controls on your version before rebuilding around someone else’s allocation.
Choose the job your squad needs
Once you know the lineup, choose which possessions you want the build to handle. A point guard needs to turn an advantage into a pass; a center has to turn a contest into a completed stop. Those repeatable jobs give your spending a purpose before you start chasing another badge tier.
Compare your mode and position below, then read the full role section for the tradeoff and its Builder check. The chooser explains responsibilities; the in-game Builder determines whether your actual allocation is eligible.
Match your position to your mode
Choose the job you expect to play. This tool compares responsibilities and badge priorities; it does not calculate a legal attribute allocation.
Small forward: connect the lineup
Space, make the next pass, cover wings and help finish rebounds.
Solo Rec: contribute when the ball is elsewhere, and keep secondary creation only if that is part of your job.
Seatbelt supports body-up defense. Choose shooting and rebounding badges around the jobs your lineup needs.
Read each position below for its full tradeoff and Builder check.
Point guard: creator and passer
Required actions: Read the first help defender, create separation and deliver the pass before the opening closes. Protect possession rather than treating every touch as a dribble showcase. A scoring threat matters because it forces help; the next pass is what makes that threat useful to the squad.
Badge match: Dimer helps open teammates after catching your pass. Handles for Days reduces the energy hit from consecutive dribble moves. Neither replaces reading the defender or choosing an open receiver.
Mode tradeoff: A lead guard in five-on-five needs room in the plan for passing and free throws. A scoring-heavy small-court role can allocate differently, but still needs a way out when help arrives.
Builder check: Check desired movement categories individually, including Signature Size-Up and Crossover Escape. Dribble customization is split into individual movements; do not assume one full-package unlock. Compare those requirements with your badge token budget before finalizing the body settings.
Shooting guard: off-ball shooting and perimeter defense
Required actions: Give the ball handler a passing target, punish late closeouts and stay attached to your perimeter assignment. Decide whether you mainly wait for catches or routinely create moving shots; those jobs ask different things of the same shooting budget.
Badge match: Set and Fire boosts feet-set threes. Arc Cadence serves moving threes, so consider it only if those attempts are part of your game. Challenger supports well-timed perimeter contests; Pick Dodger helps navigate screens.
Mode tradeoff: An organized lineup with a committed creator can narrow your handling spend. Solo play may call for secondary handling when the offense stalls. That does not mean copying a second primary guard and leaving the toughest perimeter matchup uncovered.
Builder check: Compare body-dependent costs for the shooting and defensive badges you actually want equipped. Confirm your closeout-attack movements are eligible, then check what those choices leave for passing and defense.
Small forward: wing who covers missing jobs
Required actions: Close out under control, make connective passes, switch when the possession demands it and help finish rebounds. Choose which of those jobs must remain dependable when you spend less on self-created scoring.
Badge match: Seatbelt supports body-up defense. Speed and Agility power defensive cutoffs, according to 2K’s gameplay explanation; they do not guarantee stops. Practice the finishing animations and Dunk Timing controls you intend to use. A high finishing rating does not make a late helper disappear.
Mode tradeoff: A solo Rec wing benefits from several ways to contribute. A coordinated squad can ask its wing to specialize, such as covering the perimeter matchup while someone else handles creation. Keep the contribution your teammates rely on when deciding what to sacrifice.
Builder check: Inspect movement and finishing eligibility on your actual height, weight and wingspan. Compare the token tradeoff against the defensive role before paying for another scoring option.
Power forward: spacing and help defense
Required actions: Keep useful spacing, rotate into help without abandoning an easy pass and recover to the glass. Agree who boxes out and who pursues the rebound; a position label does not make that division happen.
Badge match: Use Set and Fire for feet-set threes or Static Middy for standstill mid-range shots, according to where you actually shoot. Wall Up supports paint hands-up contests. Possession Closer helps secure defensive rebounds after the contest.
Mode tradeoff: In five-on-five, a second big may let you spend more on spacing and help coverage. In Park, being the lone big means you cannot assume another player handles boards while you chase the perimeter.
Builder check: Verify planned rebounding and Physicals badge availability alongside shooting costs. If spacing consumes the resources you need to finish defensive possessions, reconsider the allocation or the lineup—not just the position name.
Center: finish the stop and start the break
Required actions: Contest, establish boxout position, collect the rebound and find the outlet. Blocking a shot is not the end of the possession if the opponent retrieves it. Build around the sequence, not only the highlight.
Badge match: Possession Closer supports defensive rebounds; Boxout Boss improves boxouts. Break Starter improves deep outlets made quickly after a defensive rebound. Paint Patroller covers rim blocks and contests, while Wall Up supports paint hands-up defense. Those paint jobs are distinct from perimeter mobility.
Mode tradeoff: A Rec center should leave room for outlet passing and free throws. A smaller lineup may instead ask its center to switch farther from the rim while still returning to rebound. Decide which sacrifice your teammates can cover.
Builder check: Inspect standing and driving finishing requirements separately, then test your comfort with the Dunk Meter. Confirm the outlet plan and equipped badges on this body; a creator’s passing rating is not a universal center requirement.
Plan badges, tokens and slots separately
The official MyPLAYER Builder breakdown makes an important distinction: meeting an attribute requirement puts a badge in your inventory. It does not automatically equip it. Size and position affect eligibility and Badge Token cost, with feedback as you adjust the build. Compare the badge tier and its cost together, not the attribute bar alone.
Every MyPLAYER starts with 20 badge slots across six disciplines: Shooting, Finishing, Playmaking, Defense, Rebounding and Physicals. Those slots are available on entering The City, but you must earn tokens to fill them. An empty slot is capacity, not a free badge; an eligible badge still needs the resources to equip it.
Tokens can be reassigned, while event-earned tokens stay locked to their discipline. Check where your actual tokens can go before assuming you can move the whole budget from shooting to defense. Legend badges are unavailable at creation.
A Badge Loadout saves a combination of badges; it is not another pile of tokens or another badge slot. You start with one Loadout and can earn up to three more through REP, Challenges and Crews. Loadouts can change before tipoff. Plan the first usable combination around what you own, then use additional combinations for matchup changes when you earn them.

Budget for Synergy you actually have
Synergy separates Fuse from Reaction. A Fuse badge receives its boost for the game and frees the normal token cost of equipping that badge. Its paired Reaction badge receives the boost only after enough Fuse activations during that game. Do not count the Reaction effect as active at tipoff.
The system has 16 Synergy slots: twelve +1 and four +2. That describes the system, not everything a new player owns. Season-earned Synergy expires at season end; Build Specialization, Crew and REP Synergy are permanent across save files. Specialization slots remain discipline-locked. Budget around earned rewards and their restrictions, not future rewards you hope to collect. Keep a workable badge plan for when temporary Synergy expires.
Preview the build before spending VC
Set the prospective allocation to 99 overall rating (OVR) inside the MyPLAYER Builder, then inspect the Cap Breaker preview in the Builder Glossary. You do not need to buy a live 99 OVR character. Read the gains shown for each attribute instead of assuming an identical increase or a way around body limits.
Signature Blueprints replaces Pro-Tuned and NBA templates. Treat a Blueprint as a starting plan, not certified optimal spending. The official NBA 2K HQ app also provides the full Builder, upload to your home setup and QR-code sharing.
Before you commit VC
0 of 6 preparation steps checked. This is your checklist, not a build certification.
If uneven rendering makes practice difficult on PC, use the NBA 2K27 PC settings guide as a separate troubleshooting step—not a substitute for build testing.
Builds FAQ
What is the best all-around build in NBA 2K27?
Start with a role that contributes through spacing, passing, defense and rebound help, then choose which job deserves the largest share of your resources. There is no verified universal height-and-rating recipe here. A wing can cover missing jobs, but a squad that lacks a primary passer may need something different.
What should a solo Rec build prioritize?
Prioritize useful possessions without assuming the ball is always yours: an open catch, a sensible pass, your defensive assignment and help on the glass. Keep enough secondary creation for stalled possessions if that is part of your role. This is planning advice, not evidence of a universal win-rate advantage.
Does unlocking a badge automatically equip it?
No. Meeting its attribute requirement makes the badge available in inventory. You still need eligible tokens and an available slot to equip it. Check the cost on your body settings, and remember that event tokens can be discipline-locked. A Loadout saves a combination rather than supplying more tokens.
Do I need to buy a 99 OVR player to preview Cap Breakers?
No. Set the prospective build to 99 OVR inside the MyPLAYER Builder. That makes the Cap Breaker preview available in the Builder Glossary so you can inspect attribute-specific gains before committing to the character. It is a planning allocation, not a purchase requirement.
What should a Park big prioritize?
If you are the only big, plan to contest, box out, collect rebounds and make the outlet. Spacing can help the offense, but it should not leave defensive possessions unfinished. Check the movement and badge costs for the actual body you choose rather than copying a universal height recommendation.
Does NBA 2K27 v2.0 arrive on PC on October 8?
The official v2.0 schedule lists October 8, 2026 for PlayStation 5 and Xbox Series X|S, and October 16 for PC and Nintendo Switch 2. Check the current patch page and your installed version before applying console post-update advice to PC.
Can a PC MyPLAYER join a PlayStation or Xbox squad through crossplay?
The official NBA 2K27 FAQ limits crossplay to PlayStation 5 and Xbox Series X|S. PC is not included in that crossplay pairing. Choose your squad plan around the players and platform you can actually join.


 Youtube