

The best DragonSword: Awakening PC settings start with High Quality upscaling, a sustainable cap, and Effect Quality as the first test for battle dips. This is a starting point, not a frames-per-second (FPS) guarantee.
DragonSword: Awakening best settings at a glance
Use these quality-first starting points for update 1.0.3, then keep only changes that improve the same route. This guide covers the single-player Steam edition; Hound13 says online functionality was removed. The upscalers are NVIDIA Deep Learning Super Sampling (DLSS), AMD FidelityFX Super Resolution (FSR), and Temporal Super Resolution (TSR).
Swipe sideways to see every column.
| Setting | PC starting point | Change it when |
|---|---|---|
| Screen Mode | Borderless Window Mode | Change it only if a display or capture issue gives you a reason to use another available mode. |
| Resolution | Native monitor resolution | Lower the internal workload through upscaling before reducing output resolution. |
| Auto-Graphics Quality | User Custom | Custom keeps one-setting tests honest. Use Normal when you need a clean broad reset. |
| Texture Quality | High | Lower only when memory pressure, pop-in, or warmed traversal hitches repeat. |
| FPS Limit | 60 FPS test | Pick the highest cap the largest repeatable fight can sustain; raise it only after that route holds. |
| Vertical Sync (V-Sync) | Off for first test | Enable for tearing when your variable refresh rate (VRR) or fixed-refresh setup needs it. Do not stack limiters. |
| Shadow Quality | Normal | Compare one step only after upscaling and Effect Quality fail to solve a graphics-processor (GPU) limit. |
| Depth of Field | On or preference | Change for image preference; no reliable game-specific FPS gain is established. |
| Effect Quality | Normal; test Low first | Lower it for effects-heavy battle drops. Expect the result to vary by hardware and encounter. |
| View Distance | Normal | Test one step only when resolution changes barely help and traversal or scene complexity drives the drop. |
| Character Animation Optimization | On | Compare Off only if you notice an animation problem; do not change it alongside another setting. |
| Scenario Cutscene | On / default | Leave it at the default because it is not a proven FPS lever. |
| Upscaling Techniques | DLSS / FSR / TSR | Compare NVIDIA Deep Learning Super Sampling (DLSS), AMD FidelityFX Super Resolution (FSR), and Temporal Super Resolution (TSR) in motion. |
| Upscaling Quality | High Quality first | Move to Balanced only when the same heavy route is clearly GPU-limited and the softer image is acceptable. |
| Clarity | Tune after upscaling | Use it for image preference after choosing the upscaler; there is no universal best number. |
| NVIDIA Reflex | Test separately | Reflex targets render-queue latency; measure it separately from graphics changes. |
| FSR Frame Generation | Off for baseline | Frame Generation adds displayed frames. Test only after base performance is stable on version 1.0.2 or later. |
Test Effect Quality first in large battles
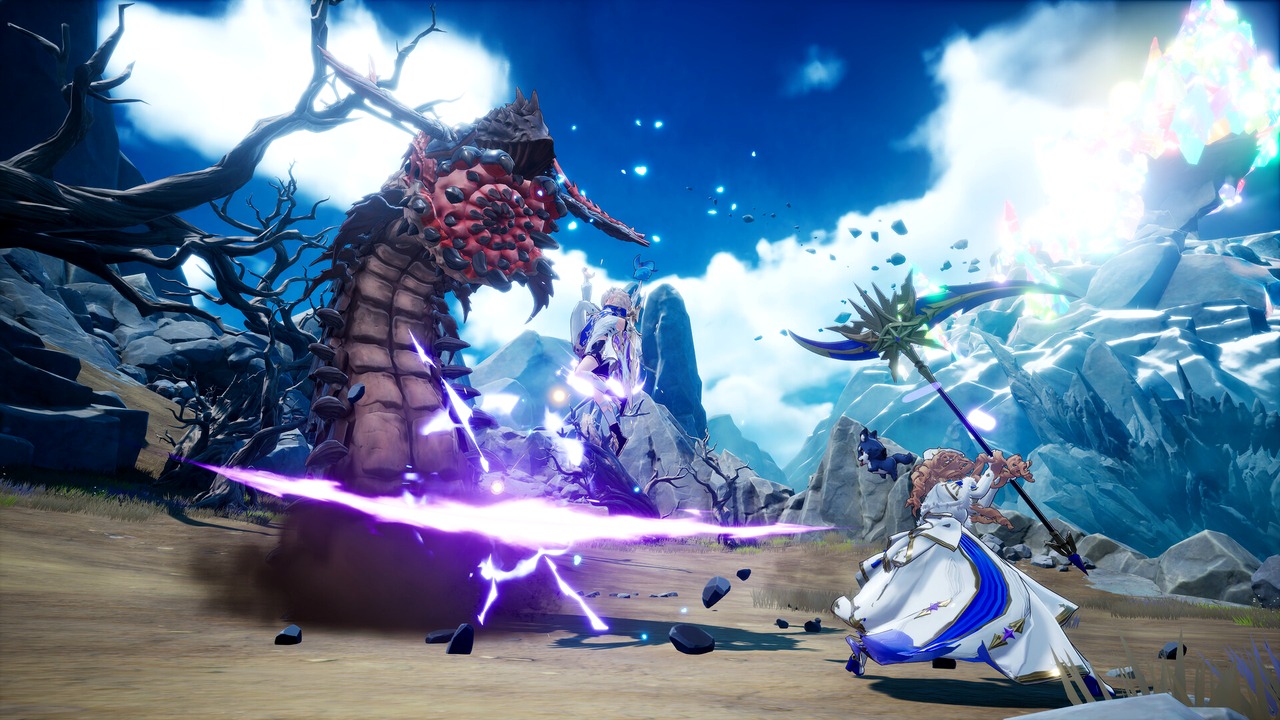
Large fights stack enemy activity and effects, so they can break a cap that looks stable while exploring. Compare Effect Quality Normal and Low in the same encounter, then keep Low only when the smoother delivery is worth the visual tradeoff.
On desktop, compare Effect Quality Low against Normal in the same fight. If the result does not improve enough to justify the visual tradeoff, restore Normal instead of blindly copying a handheld profile.
Fix the symptom, not every setting
Where does your FPS dip?
Choose the repeatable symptom. Each route protects settings that are unlikely to be the cause.
Low FPS everywhere
Prove a GPU limit before cutting secondary settings.
- Use High Quality upscaling, then compare Balanced.
- Repeat the same route at a lower output resolution.
- If FPS clearly improves, test Effect Quality or Shadow Quality one at a time.
DLSS vs FSR vs TSR—and when to use Frame Generation
Use DLSS on a supported RTX GPU, FSR where it fits your hardware, or TSR as the engine alternative. Begin at High Quality and compare motion, not a paused screenshot. Balanced can reduce GPU work further; inspect hair, foliage, particles, and bright edges in motion before keeping it.
Set Clarity only after choosing the upscaler and quality mode. Frame Generation inserts displayed frames between base frames; it can make motion look smoother, but it does not turn a weak base rate into equally responsive native performance. Keep FSR Frame Generation Off while diagnosing stutter or input response, then compare matched Off/On runs after the base game is stable.
Choose a cap the worst fight can hold
Start PC testing at 60 FPS. Update 1.0.2 fixed the FPS Limit failing to save, so recheck your value if you tested an earlier build. Stable frame time—the time needed to deliver each frame—usually feels better than a high average that repeatedly falls through the target.
Use one limiter at a time. For a variable refresh rate (VRR) display such as G-Sync or FreeSync, keep a tear-free cap below the display’s upper VRR boundary and test V-Sync as part of that setup. Fixed-refresh users can test V-Sync for tearing, but it may add latency at the ceiling. Hone’s guide to choosing a realistic FPS target explains the tradeoff.
What the official PC requirements actually mean
The official Steam page lists an i5-9400F, GTX 1660, 8 GB RAM, Windows 10, DirectX 12, and 25 GB as minimum. Recommended hardware moves to an i7-9700F, RTX 3060, and 16 GB RAM. Steam attaches no resolution, preset, FPS target, or video-memory (VRAM) capacity to either tier, so neither is a 60 FPS guarantee.
Low-end PC route
The official minimum specs do not define a preset or FPS target. Start from the desktop baseline and diagnose the same heavy fight: use stronger upscaling only when GPU-bound, and change textures or shadows only when monitoring points to memory or GPU pressure. For safe Windows-side cleanup, use Hone’s guide to increasing FPS on PC.
Run a repeatable two-scene test
- Record the game version, driver, hardware, resolution, cap, upscaler, quality mode, V-Sync/VRR state, graphics API (DX11/DX12), and Frame Generation state.
- Run one open-world traversal loop and one effects-heavy fight. Keep the same save, camera path, enemies, and actions.
- Log one cold traversal pass separately, warm both routes, then run three measured passes.
- Change one setting at a time. Compare average FPS and frame-time consistency; define how your tool calculates the slowest one percent of frame-rate samples.
As of July 28, 2026, Hound13 also acknowledges a D3D12 crash on some GPU and driver combinations. Use the official -dx11 launch option only if that crash affects you, and label any test DX11. It is a compatibility workaround—not a proven FPS boost—and its feature set may differ from DX12.
Skip copied shader caches, random Engine.ini packs, forced processor-core settings, Realtime process priority, and “FPS booster” mods. Hound13 warns that unsupported mods or save edits can damage saves, cause crashes, or interfere with updates.
Finished the two-scene test?
Use Hone to reduce avoidable Windows background load, then rerun the same route. It cannot patch game-side crashes or engine hitches.
Download Hone FreeDragonSword: Awakening settings FAQ
What are the best DragonSword: Awakening PC settings?
Start with Borderless Window Mode, native resolution, User Custom, High textures, Normal shadows and effects, High Quality DLSS/FSR/TSR, a 60 FPS test cap, and Frame Generation Off. If large fights dip, compare Effect Quality Low first in the same encounter.
Should I use DLSS, FSR, or TSR?
Use DLSS on supported RTX hardware, FSR where it fits your GPU, or TSR as the engine alternative. Start at High Quality and compare hair, foliage, particles, and outlines in motion. Use Balanced only when the same route remains clearly GPU-limited.
How do I reduce FPS drops during large battles?
Repeat the same effects-heavy fight and compare Effect Quality Normal versus Low. If lowering resolution or using stronger upscaling barely helps, stop degrading image quality and choose a cap the fight can sustain.
Why does DragonSword: Awakening stutter while exploring?
First confirm the game is on an SSD, then separate one cold traversal pass from three warm repeats. If the hitch persists, monitor memory pressure and test Texture Quality, followed by View Distance, one setting at a time.
Should I enable Frame Generation?
Keep FSR Frame Generation Off while measuring base performance, input response, or stutter. On version 1.0.2 or later, test it separately only when the base frame rate and frame pacing are already acceptable.




 Youtube